The scent hits the back of your throat before it ever touches your tongue. It is a sharp, electric zip of acetic acid colliding with the sulfurous depth of Brassica juncea. We are talking about the pungent, funky, and unapologetically bold world of Fermented Mustard Greens. This is not a side dish; it is a chemical transformation that turns a bitter leaf into a culinary capacitor, storing energy and flavor until it is unleashed in a stir-fry or a rich broth. When you ferment these greens, you are engaging in a biological audit of the vegetable itself. You are breaking down complex glucosinolates into isothiocyanates, creating that signature nasal-clearing heat that rivals horseradish or wasabi. This process requires precision, patience, and a fundamental understanding of salt-to-mass ratios. If you treat these greens with the respect they deserve, they will reward you with a piquant profile that cuts through fat like a laser through silk. Let us begin the audit of this fermented powerhouse.
THE DATA MATRIX
| Metric | Specification |
|---|---|
| Prep Time | 45 Minutes |
| Execution Time | 7 to 14 Days (Fermentation Window) |
| Yield | 1.5 Liters / 6 Cups |
| Complexity (1-10) | 4 |
| Estimated Cost per Serving | $0.85 |
THE GATHERS
Ingredient Protocol:
- 1.5kg / 3.3 lbs Fresh Mustard Greens (Headed or broad-leaf variety)
- 45g / 3 tbsp Non-iodized Sea Salt (Critical for microbial health)
- 1L / 4.2 cups Filtered Water (Chlorine-free)
- 30g / 2 tbsp Light Brown Sugar (To accelerate initial lactobacillus activity)
- 15g / 1 tbsp Fresh Ginger, julienned (To infuse aromatic depth)
- 4 cloves Garlic, smashed (For antimicrobial balance)
- 2-3 Dried Bird's Eye Chilies (To provide a capsaicin kick)
- 50ml / 0.2 cup Rice Water (Starchy water from rinsing rice to provide fuel for bacteria)
Section A: Ingredient Quality Audit:
The primary failure point in this protocol is the quality of the raw greens. If your mustard greens are wilted or show signs of yellowing, the cell walls have already begun to collapse, leading to a mushy final product rather than a crisp, fibrous bite. If you find your greens are lacking turgor pressure, submerge them in an ice-cold water bath for twenty minutes to rehydrate the cellular structure before starting. Another critical audit point is the salt. Never use iodized table salt; the iodine acts as an antimicrobial agent that can stall the fermentation of your beneficial lactobacillus. If your brine appears cloudy too early or develops a pink hue, discard immediately. This indicates a breach in your "clean room" environment, likely due to surface contaminants on the ginger or garlic.
THE MASTERCLASS
Step 1: The Solar Dehydration Phase
Spread your mustard greens out on a wire rack or clean surface in direct sunlight for 3 to 5 hours. You are looking for the leaves to become limp and slightly leathery. This reduction in water activity concentrates the natural sugars and prevents the greens from shattering during the salting process.
Pro Tip: Use a digital scale to weigh the greens before and after wilting. You are aiming for a 10% to 15% reduction in mass through evaporation. This ensures the cell walls are flexible enough to be packed tightly without bruising.
Step 2: Mechanical Cell Wall Breakdown
Place the wilted greens in a large stainless steel bowl. Sprinkle the sea salt evenly over the leaves. Using your hands, aggressively massage the salt into the stems and leaves for 5 to 8 minutes. You will see the greens darken and release a dark green, bitter liquid.
Pro Tip: This is essentially a manual render of cellular fluids. The salt creates osmotic pressure, drawing out moisture while the mechanical action breaks down the waxy cuticle of the leaf. Use a bench scraper to gather any stray salt or small leaf fragments back into the primary mass.
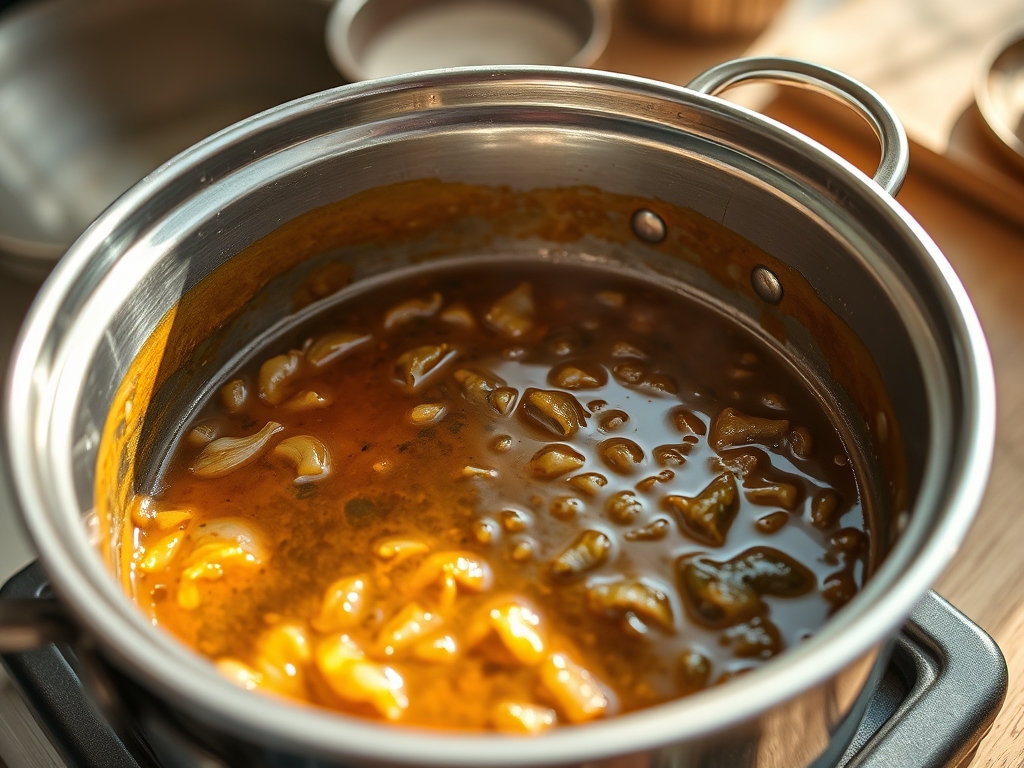
Step 3: Brine Synthesis and Packing
In a separate saucier, lightly warm the filtered water, sugar, and rice water until dissolved; then let it cool to room temperature. Pack the salted greens, ginger, garlic, and chilies into a sterilized glass crock or jar. Pour the cooled liquid over the greens until they are completely submerged.
Pro Tip: The rice water provides a "starter" of simple starches that the bacteria can easily metabolize. This ensures a rapid drop in pH, which protects the batch from spoilage. Always use a fermentation weight to keep the greens below the brine line to prevent aerobic mold growth.
Step 4: The Fermentation Audit
Store the jar in a cool, dark place (18C to 22C). Check the jar daily. You should see small bubbles forming after 48 hours, indicating active carbon dioxide production. Taste a small piece of the stem after day five. It should be sour, salty, and have a distinct "fizz" on the tongue.
Pro Tip: Use a pH strip or digital meter to verify the acidity. You are looking for a reading of 4.6 or lower to ensure food safety. Once the desired flavor profile is reached, transfer the jar to cold storage to decelerate the metabolic rate of the bacteria.
Section B: Prep & Timing Fault-Lines:
Temperature is the primary variable that can sabotage your timeline. If the environment is too warm (above 25C), the fermentation will happen too quickly, resulting in "soft" greens that lack the structural integrity of a professional product. Conversely, if it is too cold, the bacteria will remain dormant, allowing competing molds to take hold. If you miss your "window" and the greens become too sour, you can mitigate this by soaking the greens in fresh water for ten minutes before cooking to deglaze the excess lactic acid.
THE VISUAL SPECTRUM
Section C: Thermal & Visual Troubleshooting:
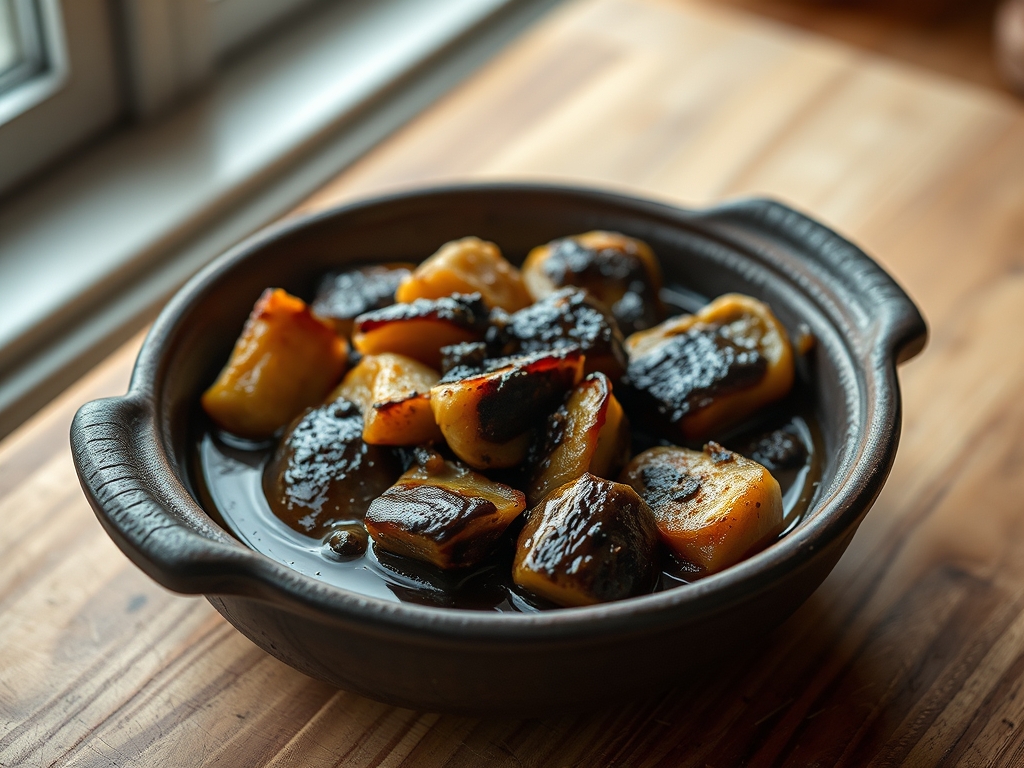
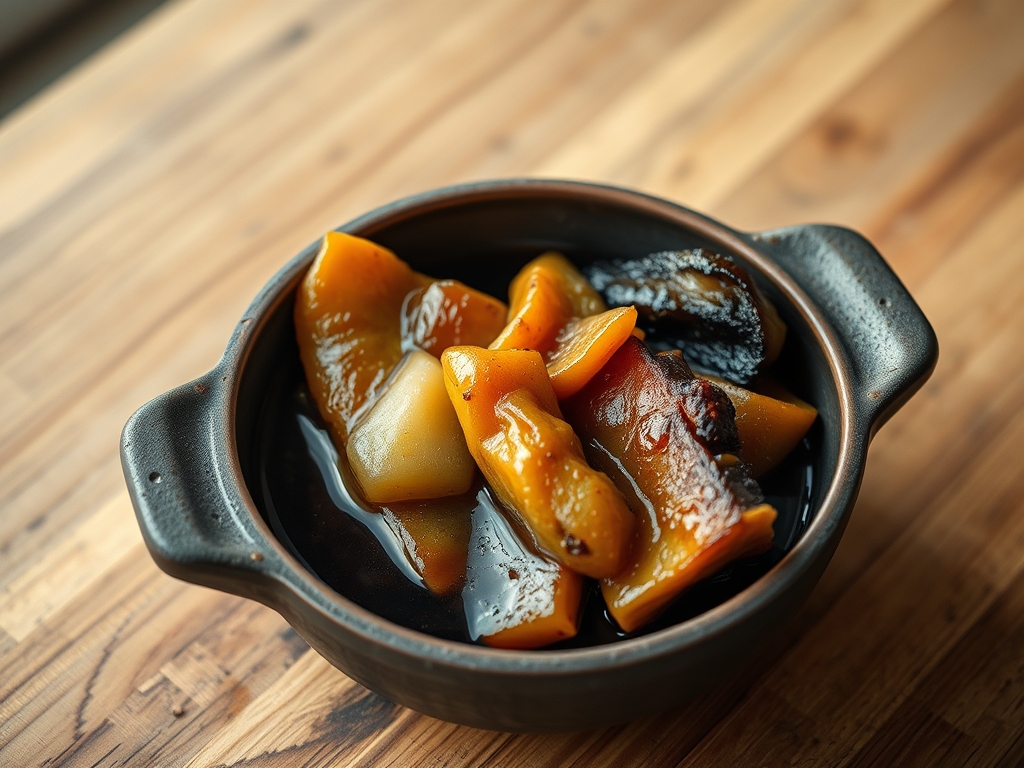
Referencing the Masterclass photo, the ideal Fermented Mustard Greens should exhibit a transition from vibrant emerald to a deep, olive-drab or "khaki" hue. This color shift is a visual cue that the chlorophyll has reacted with the acid. If your greens remain bright green after seven days, your fermentation has stalled. If you notice white spots on the surface of the brine, do not panic; this is likely Kahm yeast, which is harmless but should be skimmed off to prevent off-flavors. If the brine becomes viscous or slimy like egg whites, the temperature was too high, and the batch must be audited as a failure and discarded. The texture should remain "snappy" when bitten; a dull, mushy texture indicates over-fermentation or insufficient salt concentration.
THE DEEP DIVE
Macro Nutrition Profile:
Fermented mustard greens are a low-calorie, high-density probiotic source. A 100g serving contains approximately 25 calories, 3g of fiber, and 2g of protein. They are exceptionally high in Vitamin K and Vitamin A. The fermentation process increases the bioavailability of these nutrients while reducing the presence of oxalates.
Dietary Swaps:
- Vegan: This protocol is inherently vegan.
- Keto: The sugar used is consumed by the bacteria; the final product is extremely low-carb.
- GF: Ensure your rice water comes from gluten-free rice sources.
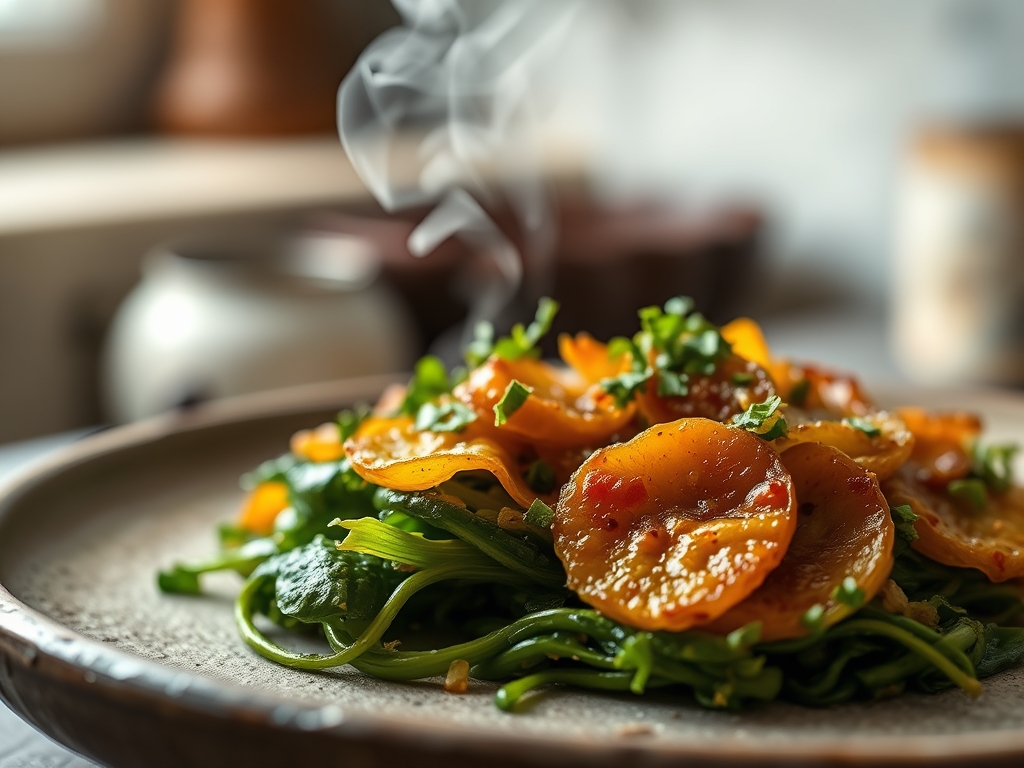
Meal Prep & Reheating Science:
To maintain the molecular structure of the greens when cooking, always add them at the end of the stir-fry process. Excessive heat will destroy the probiotic benefits and turn the crisp texture into a stringy mess. When reheating soups containing these greens, simmer gently; do not boil. This preserves the delicate aromatic compounds that give the greens their piquant edge.
THE KITCHEN TABLE
How long do these last in the fridge?
Properly submerged in their brine and kept in a sealed glass container, these greens will maintain their structural integrity and flavor for up to six months. The flavor will continue to sharpen and deepen over time.
Can I use frozen mustard greens?
No. The freezing process ruptures the cell walls through ice crystal formation. Once thawed, the greens will turn into a slurry during the fermentation process. Always start with fresh, turgid greens for a successful audit.
Why is my brine turning brown?
Slight browning is normal as the polyphenols in the mustard greens oxidize. However, if the brine turns a murky, dark brown accompanied by a foul odor, it indicates the presence of proteolytic bacteria. In this case, discard the batch.
Do I need to wash the greens after fermenting?
A quick rinse under cold water is recommended if you are sensitive to salt. However, many chefs prefer to use the greens directly from the jar to utilize the residual brine as a seasoning agent for the entire dish.