Stop thinking of garlic as a mere aromatic; start treating it as a long-term architectural project. When you commit to the sixty-day transformation of a raw bulb, you are not just cooking. You are overseeing a slow-motion molecular collision known as the Maillard reaction. This is the core of Black Garlic Infrastructure. We are moving past the sharp, sulfurous bite of the fresh allium and entering a realm of deep balsamic sweetness and umami-rich complexity. The scent in your facility will shift from pungent to heady; it will eventually settle into a fragrance reminiscent of dark chocolate and fermented molasses. This process requires absolute precision in humidity and thermal regulation. One slip in the moisture barrier and you are left with a charcoal husk rather than a supple, obsidian paste. We are building flavor from the ground up by manipulating the internal sugars through sustained, low-intensity heat. This is the ultimate test of culinary patience and structural integrity. Prepare your sensors; the audit of your pantry's most valuable asset begins now.
THE DATA MATRIX
| Metric | Specification |
|---|---|
| Prep Time | 15 Minutes |
| Execution Time | 1,440 Hours (60 Days) |
| Yield | 10 to 12 Whole Bulbs |
| Complexity (1-10) | 4 (Technical Oversight Required) |
| Estimated Cost per Serving | $0.85 USD |
THE GATHERS
Ingredient Protocol:
- 12 Whole Heads Organic Hardneck Garlic (approx. 750g / 1.6 lbs)
- 30ml / 2 tbsp High-Proof Rice Wine (Optional: for surface sterilization)
- 15ml / 1 tbsp Distilled Water (for humidity stabilization)
Section A: Ingredient Quality Audit:
The integrity of your Black Garlic Infrastructure depends entirely on the raw material. If you start with sprouted garlic, the internal green germ will turn bitter and metallic during the aging process. Ensure your bulbs are firm with tight, papery skins. If the bulbs feel light or hollow, they have already begun to dehydrate; this will result in a woody texture that refuses to become viscous. Technical fix: If your garlic is slightly older, a brief three-minute soak in distilled water can rehydrate the outer tunics, but avoid excessive moisture which leads to mold. Always source organic varieties to ensure no sprout inhibitors interfere with the enzymatic breakdown.
THE MASTERCLASS
Step-by-Step Execution:
1. Environmental Sterilization and Prep
Clean your fermentation vessel thoroughly. Use a digital scale to weigh your bulbs and ensure they are uniform in size for consistent heat penetration. Lightly mist the outer skins with rice wine to neutralize surface pathogens without saturating the cloves.
Pro Tip: Sterilization is non-negotiable. Using a high-proof alcohol prevents unwanted fungal growth during the initial warm-up phase where temperatures are prime for microbial activity.
2. Establishing the Moisture Barrier
Wrap each bulb tightly in a double layer of heavy-duty aluminum foil. Place the bulbs into your slow cooker or specialized fermentation chamber. If using a standard rice cooker, place a small rack at the bottom to prevent direct contact with the heating element.
Pro Tip: The foil acts as a micro-environment. It traps the natural moisture of the garlic, allowing it to infuse back into the cloves rather than escaping as steam.
3. Thermal Calibration
Set your device to the "Keep Warm" setting. Use a digital probe thermometer to verify the internal temperature remains between 130 and 150 degrees Fahrenheit. Any higher and the sugars will carbonize; any lower and you risk botulism.
Pro Tip: Constant temperature is the engine of the Maillard reaction. Fluctuations cause the cell walls to collapse unevenly, ruining the final texture.
4. The Sixty-Day Oversight
Monitor the unit weekly. Do not open the foil packets for the first 30 days. At the 45-day mark, remove one bulb using a bench scraper or tongs to check for color development. The cloves should be shifting from tan to deep mahogany.
Pro Tip: Resist the urge to peek. Every time you open the vessel, you lose the accumulated humidity required to keep the cloves viscous.
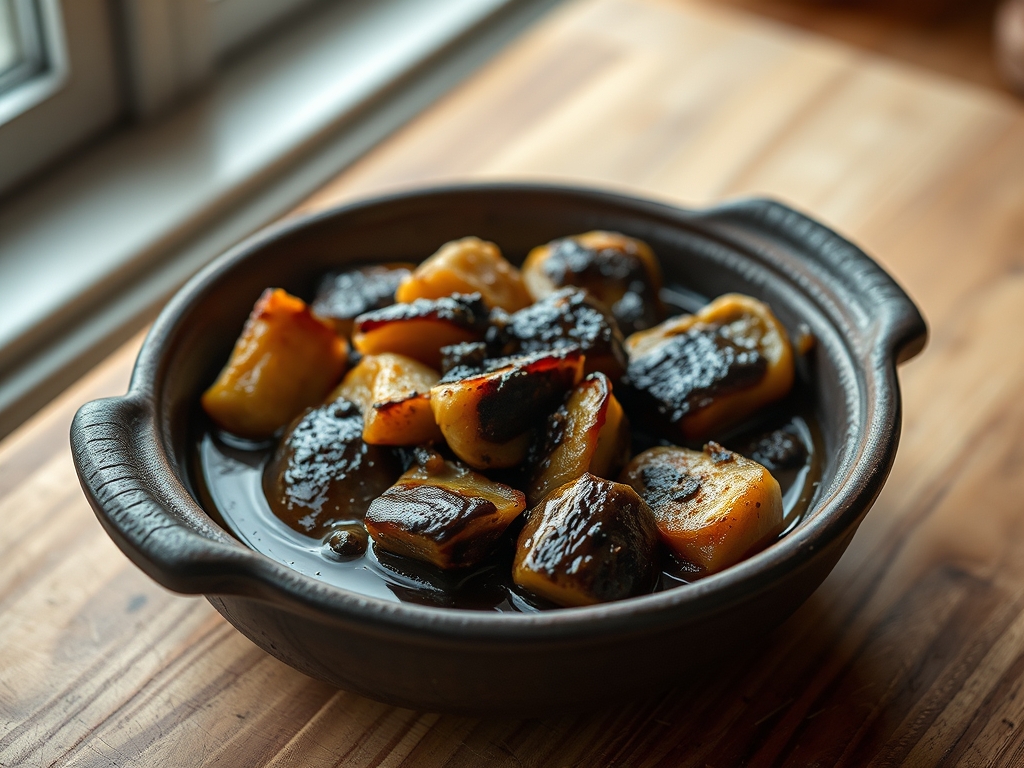
5. The Cure and Stabilization
Once the 60-day cycle is complete, the garlic will be jet black and soft. Remove the bulbs and let them air-dry on a wire rack at room temperature for 48 hours. This stabilizes the sugars and develops a fudge-like consistency.
Pro Tip: This curing phase allows the flavors to mellow. Freshly fermented garlic can have a harsh, acidic finish that disappears once the moisture levels equalize.
Section B: Prep & Timing Fault-Lines:
The most common failure in Black Garlic Infrastructure is thermal instability. If your heating element cycles too aggressively, the garlic will develop a burnt, acrid profile. If you notice a "hot" smell early in the process, recalibrate your equipment immediately. Human error often involves premature extraction. If the cloves are still brown at 40 days, they need more time; do not rush the molecular restructuring.
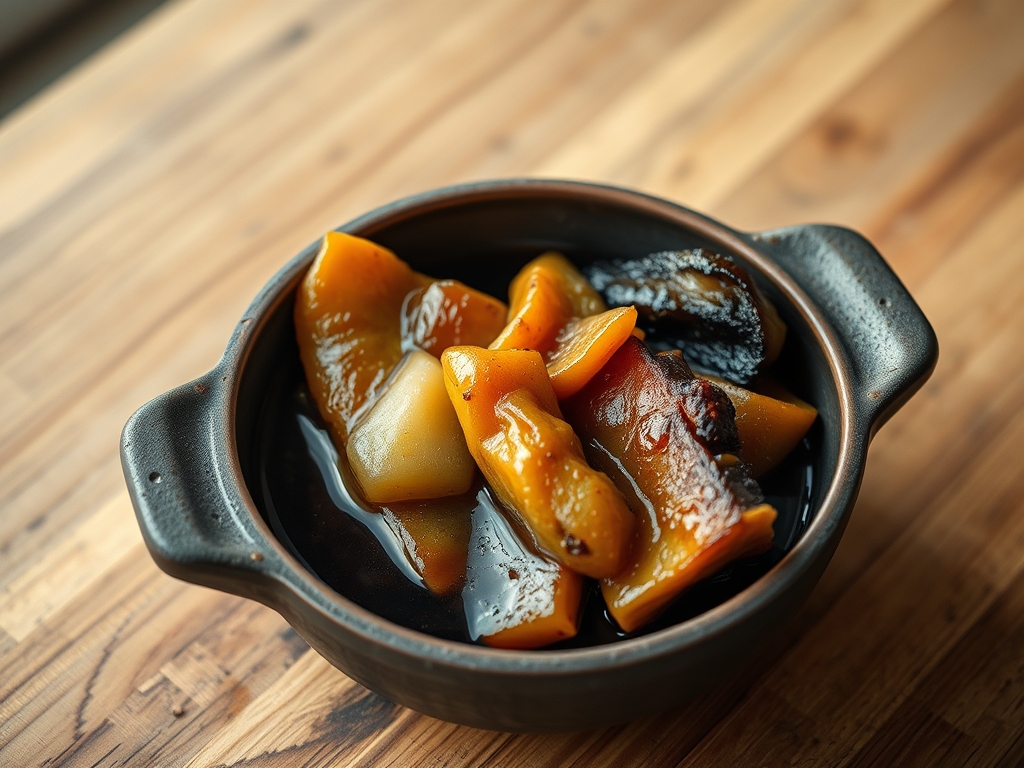
THE VISUAL SPECTRUM
Section C: Thermal & Visual Troubleshooting:
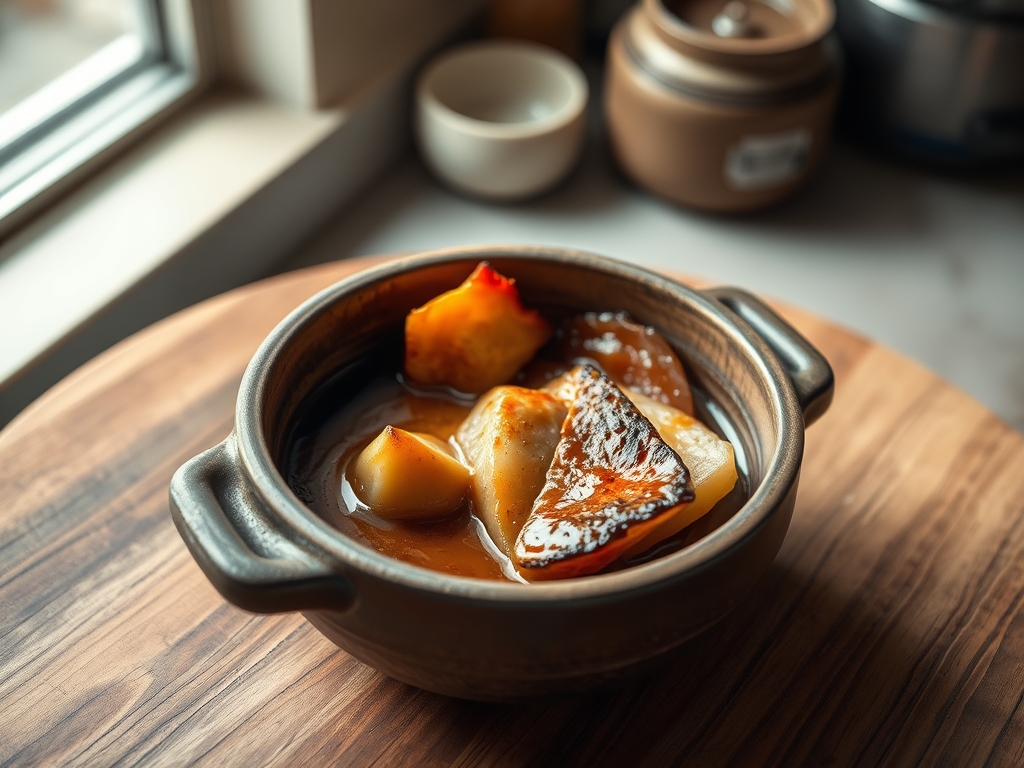
Referencing the Masterclass photo, your goal is a matte, obsidian finish. If the garlic appears glossy or wet, the humidity was too high; you must extend the curing phase to prevent spoilage. If the cloves are brittle or crumble like charcoal, the temperature exceeded 160 degrees Fahrenheit. Uneven coloring (black on the outside, tan in the middle) indicates poor heat circulation. To fix this, rotate the bulbs every ten days using a saucier spoon or tongs to ensure even exposure to the heating elements. The texture should mimic a soft dried apricot; firm enough to hold its shape but soft enough to spread with a knife.
THE DEEP DIVE
Macro Nutrition Profile
Black garlic is a powerhouse of S-allyl-cysteine (SAC). While the caloric density remains low (approx. 40 calories per head), the antioxidant capacity triples compared to raw garlic. It contains zero fat and negligible sodium; making it a perfect tool to render deep flavor in heart-healthy diets.
Dietary Swaps
- Vegan: Naturally compliant. Use it to create a "balsamic" glaze for roasted root vegetables.
- Keto: Excellent for adding complexity to fats without adding sugar. Blend into grass-fed butter for a steak topper.
- GF: Entirely gluten-free. Use the paste to thicken sauces instead of a flour-based roux.
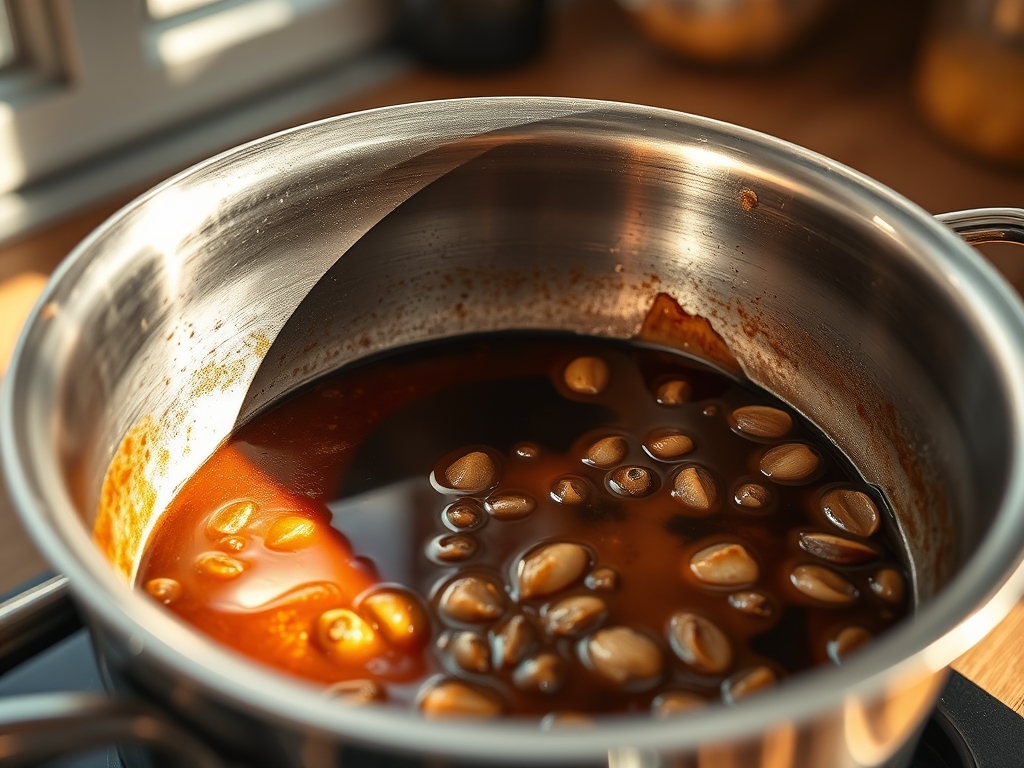
Meal Prep & Reheating Science
Store finished bulbs in an airtight glass jar. They will last 6 months in the refrigerator or 1 year in the freezer. To maintain the molecular structure when reheating, do not expose the paste to direct high heat (like a sauté pan) for long periods. Instead, deglaze your pan with liquid and whisk the black garlic in at the end to aerate the sauce and preserve its delicate volatile compounds.
THE KITCHEN TABLE
How do I know if my black garlic has gone bad?
If you see fuzzy white or green mold, discard it immediately. This happens if the garlic was too wet or the temperature dropped below 130 degrees. Healthy black garlic should smell like sweet licorice and balsamic vinegar.
Can I use a regular oven for this?
Standard ovens are not designed to run for 60 days and often cannot maintain a low enough temperature. A dedicated fermentation box or a high-quality slow cooker is the only way to ensure structural success.
Why is my garlic bitter instead of sweet?
Bitterness is caused by heat spikes. If the temperature hits 170 degrees even briefly, the sugars scorch. Ensure your Black Garlic Infrastructure is placed in a room with a stable ambient temperature to avoid thermostat fluctuations.
Do I need to peel the garlic first?
Absolutely not. The skins protect the cloves from drying out and act as a filter for the heat. Peeling before fermentation will result in hard, inedible pebbles rather than the desired viscous paste.