Forget everything you know about the humble fungus as a soggy side dish. We are here to talk about structural integrity and the violent, beautiful transformation of cellular walls. When we discuss Oyster Mushroom Searing, we are not just cooking; we are performing a high-pressure thermal audit on one of nature's most intricate biological architectures. The goal is a total textural overhaul. We want to take a flaccid, moisture-heavy organism and turn it into a golden, crispy, umami-dense powerhouse that rivals a dry-aged ribeye. This requires more than a pan and a prayer. It requires an understanding of the Maillard reaction at a molecular level and the discipline to let the heat do the heavy lifting. The air in the kitchen should be thick with the scent of woodsy earth and nutty, browned fats. If you are doing this correctly, the sound of the sear should be a constant, aggressive hiss as the cellular water evaporates, leaving behind a concentrated essence of forest and fire. Prepare your station; we are about to re-engineer the mushroom.
THE DATA MATRIX
| Metric | Specification |
|---|---|
| Prep Time | 10 Minutes |
| Execution Time | 15 Minutes |
| Yield | 2 Servings |
| Complexity (1-10) | 4 |
| Estimated Cost per Serving | $4.50 |
THE GATHERS
Ingredient Protocol:
- 500g / 1.1 lbs Fresh Oyster Mushrooms (Pleurotus ostreatus)
- 30ml / 2 tbsp Neutral High-Smoke Point Oil (Avocado or Grapeseed)
- 30g / 2 tbsp Unsalted European-Style Butter
- 3g / 1 tsp Fine Sea Salt
- 2g / 0.5 tsp Freshly Cracked Black Peppercorns
- 10g / 3 cloves Garlic (Microplaned)
- 5g / 1 sprig Fresh Thyme (Leaves stripped)
- 15ml / 1 tbsp Dry Sherry or White Wine (to deglaze)
Section A: Ingredient Quality Audit:
The primary failure point in Oyster Mushroom Searing is the moisture content of the raw material. If your mushrooms feel slimy or have a "fishy" odor, the cellular structure has already begun to collapse; no amount of heat will save them. They will weep water and steam rather than sear. If you find yourself with slightly soft specimens, place them on a wire rack in the refrigerator for two hours to aerate and dehydrate the surface. Furthermore, ensure your butter is high-fat (82% or higher). Low-quality butter contains too much water, which will drop the pan temperature and sabotage your crust.
THE MASTERCLASS
1. The Architectural Breakdown
Do not wash these mushrooms. Use a damp cloth or a soft brush to remove debris. Use a bench scraper or sharp chef knife to separate the clusters into individual petals or manageable fans. Keeping the sizes uniform ensures that every surface area contacts the pan at the same rate.
Pro Tip: Mushrooms are biological sponges. Introducing external water before the sear prevents the temperature from rising above 100C (212F) until that water evaporates, delaying the Maillard reaction and toughening the fibers.
2. The Dry Compression Phase
Heat a heavy-bottomed cast iron skillet or a stainless steel saucier over medium-high heat. Add the mushrooms to the dry pan first. Use a second heavy pan or a foil-wrapped brick to press down on the mushrooms. This forces out internal moisture and flattens the surface for maximum contact.
Pro Tip: This "dry sear" method concentrates the sugars before any fats are introduced. By using a digital scale to weigh down the second pan, you can ensure even pressure across the entire batch.
3. The Lipid Infusion
Once the mushrooms have released their moisture and begun to brown, add your high-smoke point oil. Flip the mushrooms to coat. Now, add the butter, garlic, and thyme. As the butter begins to foam, it will render its milk solids, which brown and stick to the mushroom surfaces, creating a viscous, nutty coating.
Pro Tip: The foaming action of the butter indicates that the water is being cooked out. Once the foam subsides, the temperature of the fat will spike; this is your window for the final color.
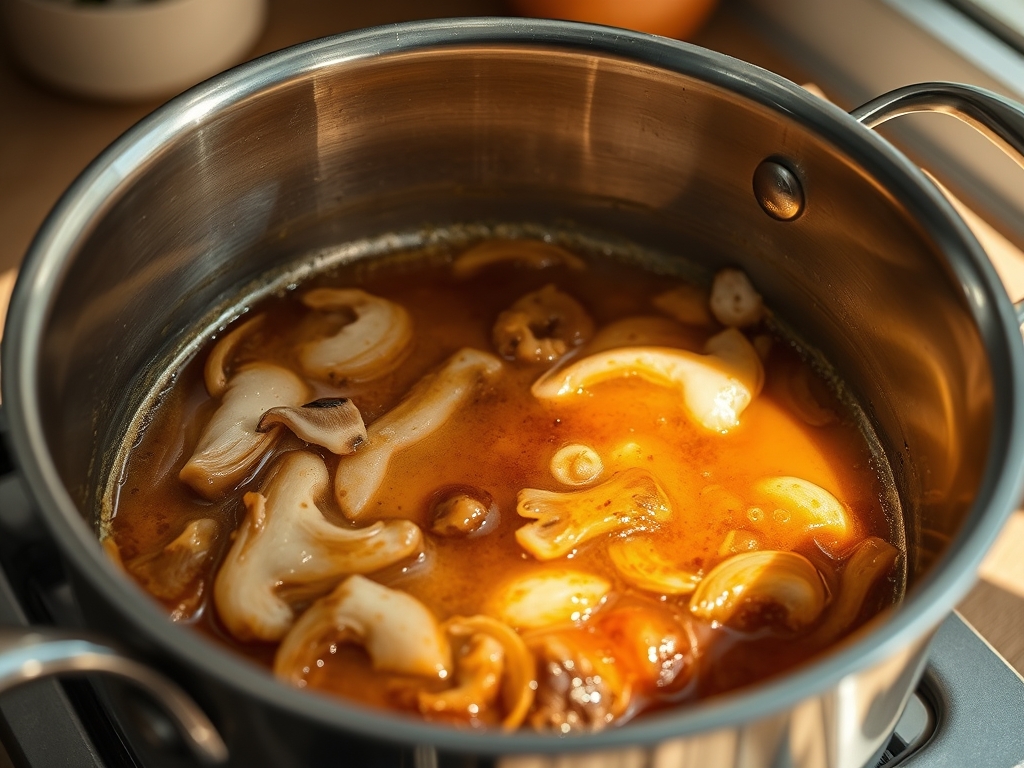
4. The Deglaze and Finish
Once the mushrooms are deeply bronzed and crispy on the edges, add the sherry to the pan. Use a wooden spoon to deglaze the brown bits (fond) from the bottom of the pan, allowing the liquid to infuse back into the mushrooms. Season with salt and pepper at the very end.
Pro Tip: Adding salt too early draws out moisture via osmosis, which leads to steaming. Salt at the finish to preserve the structural "snap" of the mushroom gills.
Section B: Prep & Timing Fault-Lines:
The most common human error is "pan crowding." If you overload the cooking surface, the ambient temperature drops and the mushrooms begin to poach in their own juices. Work in batches if necessary. Another timing error is the premature addition of garlic. Garlic burns at a much lower temperature than the mushrooms need to sear. Only introduce aromatics during the last 120 seconds of the process to avoid a bitter, acrid profile. Use an infrared thermometer to ensure your pan surface is at least 200C (400F) before the mushrooms hit the metal.
THE VISUAL SPECTRUM
Section C: Thermal & Visual Troubleshooting:
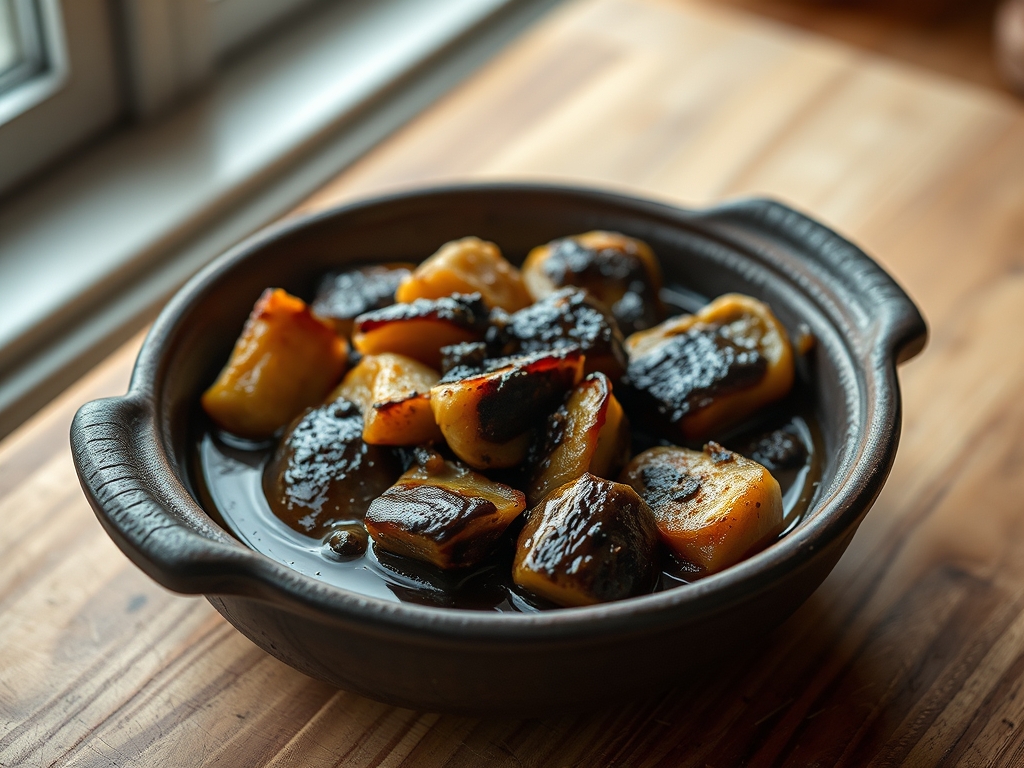
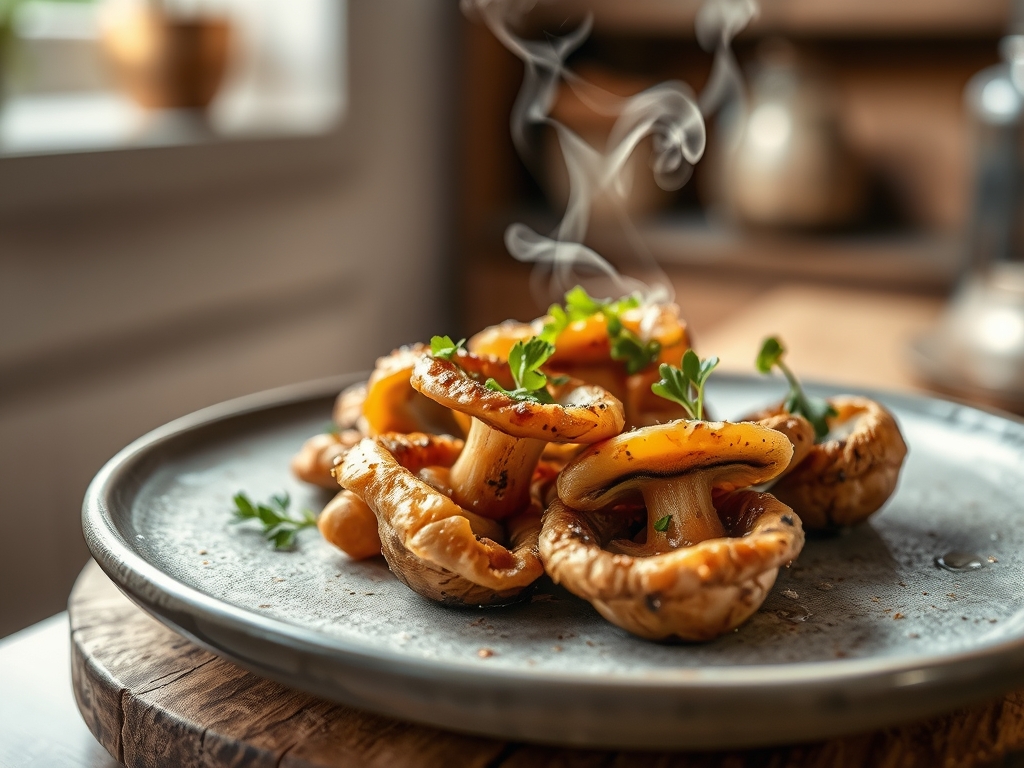
Referencing the Masterclass photo, you are looking for "Gilded Edges." The tips of the oyster mushroom gills should be dark mahogany, while the centers remain a golden tan. If your mushrooms look grey or translucent, your heat was too low. If they are black but the centers are raw, your heat was too high or you used a low-smoke point fat like extra virgin olive oil. A perfect sear results in a "matte-to-gloss" transition where the oil has been absorbed and the remaining fat provides a piquant sheen. If the dish looks dull, a final splash of acid (lemon juice or vinegar) will brighten the colors and cut through the heavy lipids.
THE DEEP DIVE
Macro Nutrition Profile:
Oyster mushrooms are a nutritional powerhouse for those seeking high-volume, low-calorie density. A standard serving provides approximately 35 calories, 3g of protein, and 0g of fat (prior to the addition of cooking oils). They are rich in ergothioneine, a potent antioxidant that remains stable even under high-heat searing conditions.
Dietary Swaps:
- Vegan: Replace the European butter with a high-quality vegan butter alternative or simply increase the amount of neutral oil and add a pinch of nutritional yeast for that cheesy, savory depth.
- Keto: This dish is naturally keto-friendly; increase the butter content to boost the healthy fat profile.
- GF: Ensure your deglazing liquid is a pure wine or fortified spirit rather than a malt-based liquid.
Meal Prep & Reheating Science:
To maintain the molecular structure when reheating, avoid the microwave at all costs. The microwave excites water molecules, which will turn your crispy mushrooms into rubber. Instead, flash-sear them in a hot, dry pan for 90 seconds. This re-crisps the exterior without overcooking the delicate interior proteins.
THE KITCHEN TABLE
Why are my mushrooms rubbery?
You likely salted them too early or didn't use enough heat. High heat is required to break down the chitin in the cell walls quickly. If they cook slowly, they become tough and elastic rather than tender and crisp.
Can I use frozen oyster mushrooms?
Technically yes, but the results will be inferior. Freezing creates ice crystals that puncture the cell walls. Upon thawing, they lose significant structural integrity, making a true "crispy" sear nearly impossible to achieve.
What is the best pan for this?
Cast iron is king. Its high thermal mass means it won't drop in temperature when you add the mushrooms, ensuring a consistent, violent sear from the moment of contact.
How do I know when the pan is hot enough?
Perform the "Leidenfrost" test. Drop a bead of water on the pan; if it dances and skitters across the surface instead of evaporating instantly, you have reached the optimal temperature for a non-stick sear.