The air in a high performance kitchen does not just sit; it vibrates with the potential energy of open flame and the scent of impending carbonization. We are not merely cooking today; we are conducting a structural audit of the Capsicum annuum. When you introduce Charred Bell Peppers to a 500 degree heat source, you are initiating a violent yet necessary transformation of the vegetable's cellular architecture. The goal is a total skin failure. We want the epidermis to blister, blacken, and detach, while the interior flesh undergoes a rapid steaming process within its own pressurized skin. This creates a texture that is simultaneously silky and resilient, infused with a piquant, smoky essence that no raw vegetable can emulate. This is the intersection of thermal dynamics and culinary art. If you are looking for a gentle sauté, you are in the wrong laboratory. We are here to burn, peel, and conquer the spectrum of flavor through calculated thermal trauma.
THE DATA MATRIX
| Metric | Specification |
|---|---|
| Prep Time | 10 Minutes |
| Execution Time | 25 Minutes |
| Yield | 4 Servings |
| Complexity (1-10) | 4 |
| Estimated Cost per Serving | $1.25 |
THE GATHERS
Ingredient Protocol:
- 4 Large Red or Yellow Bell Peppers (approx. 800g / 1.75 lbs)
- 60ml / 4 tbsp Extra Virgin Olive Oil
- 30ml / 2 tbsp Sherry Vinegar
- 2 Garlic Cloves, microplaned (approx. 10g / 0.35 oz)
- 5g / 1 tsp Flaky Sea Salt
- 2g / 0.5 tsp Cracked Black Peppercorns
- 10g / 1/4 cup Fresh Flat Leaf Parsley, chiffonade
Section A: Ingredient Quality Audit:
If your peppers feel flaccid or show signs of dehydration, they will not char correctly. A soft pepper lacks the internal turgor pressure required to steam the flesh away from the skin. To fix this, submerge aging peppers in an ice bath for 30 minutes to rehydrate the cellular walls before beginning. If your olive oil lacks a viscous mouthfeel or tastes metallic, it has oxidized. Always audit your fats; a high quality oil is required to infuse the charred flesh with richness. If the garlic is sprouting, remove the green germ to prevent a bitter aftertaste that would clash with the sweetness of the roasted sugars.
THE MASTERCLASS
1. Thermal Priming and Placement
Position your oven rack to the highest setting or prepare a gas range for direct flame contact. Place the whole peppers directly onto the grate or a heavy duty baking sheet. Ensure the peppers are dry; moisture on the surface will delay the Maillard reaction by consuming energy through evaporation rather than carbonization.
Pro Tip: Use a digital scale to ensure all peppers are of similar mass. This guarantees a uniform rate of heat penetration, preventing one pepper from turning to mush while another remains raw.
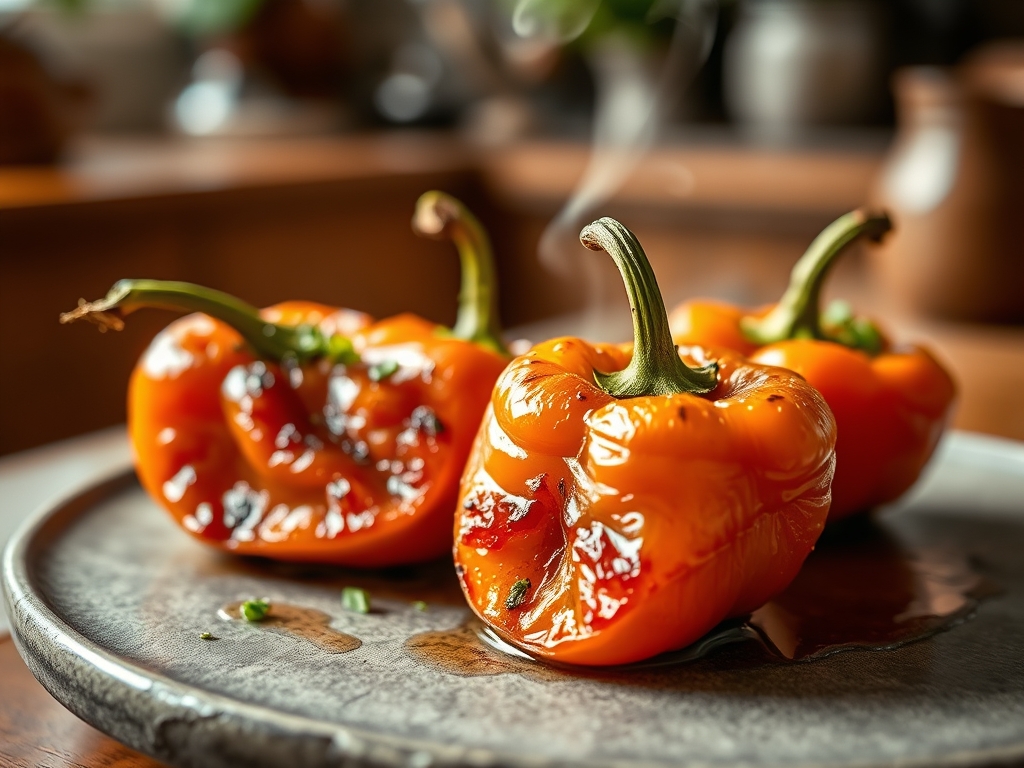
2. Controlled Carbonization
Apply high heat until the skin blisters and turns deep black. Use stainless steel tongs to rotate the peppers every 3 to 4 minutes. You are looking for 80 percent coverage of blackened skin. The smell should be intense but not acrid.
Pro Tip: Professional chefs often use a blowtorch to touch up recessed areas near the stem that the primary heat source might miss. This ensures a clean peel later on.
3. The Vapor Chamber
Once fully charred, immediately transfer the peppers to a stainless steel bowl and cover tightly with plastic wrap or a heavy lid. Let them rest for 15 minutes. This creates a localized steam environment that loosens the bond between the skin and the flesh.
Pro Tip: Do not skip this step. The steam renders the skin brittle and easy to remove without tearing the delicate, softened flesh underneath.
4. The Surgical Debridement
Remove the peppers from the bowl. Using a bench scraper or your fingers, gently slide the charred skin off. Do not rinse the peppers under water; this washes away the concentrated oils and smoky flavor compounds you just worked so hard to create.
Pro Tip: Use a saucier to collect any juices that escape during the peeling process. This liquid is "liquid gold" and should be incorporated back into the final dressing to infuse the dish with maximum depth.
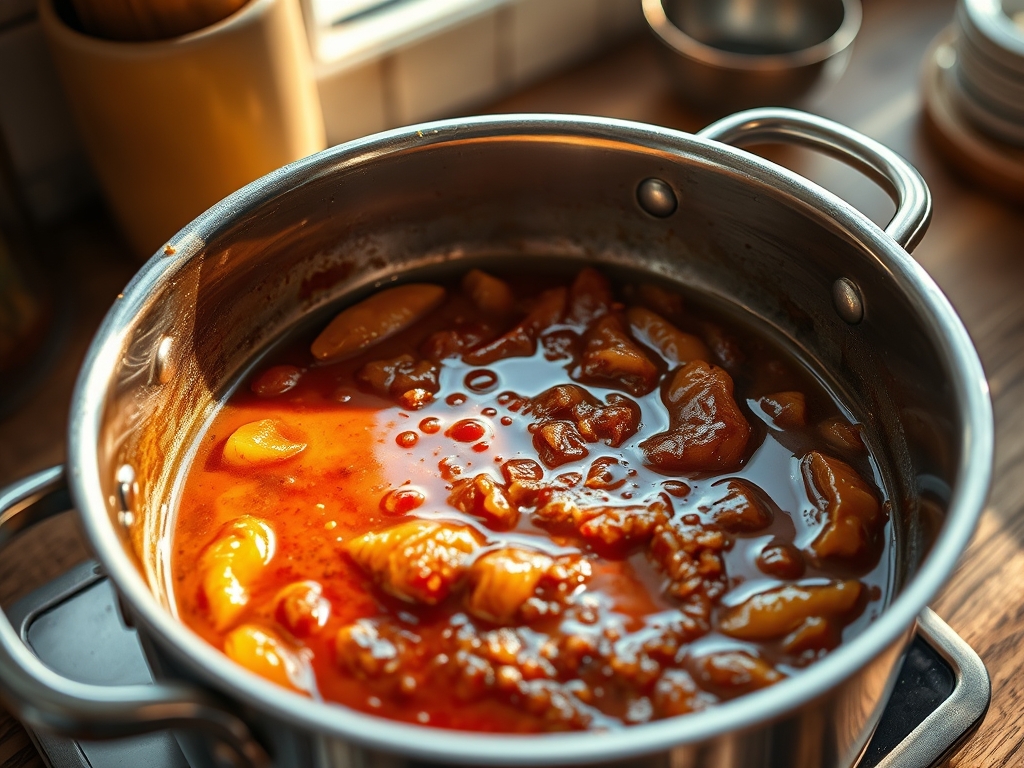
5. Precision Slicing and Emulsification
Remove the seeds and membranes. Slice the flesh into uniform strips. Whisk the olive oil, vinegar, garlic, and salt in a small bowl until the mixture begins to aerate and emulsify. Toss the peppers in this dressing and finish with fresh herbs.
Pro Tip: Use a sharp chef knife to ensure clean edges. Ragged cuts release too much internal moisture, leading to a watery presentation rather than a glossy, viscous finish.
Section B: Prep & Timing Fault-Lines:
The most common failure in this protocol is "The Premature Peel." If you attempt to remove the skin before the peppers have steamed sufficiently, you will tear the flesh. If the peppers are overcooked, they lose their structural integrity and become a puree. Monitor the internal temperature if necessary; you want the flesh tender but still capable of holding a clean edge when sliced. If the oil and vinegar separate on the plate, your emulsion was weak. Whisk more vigorously next time to ensure the fat properly coats the vegetable fibers.
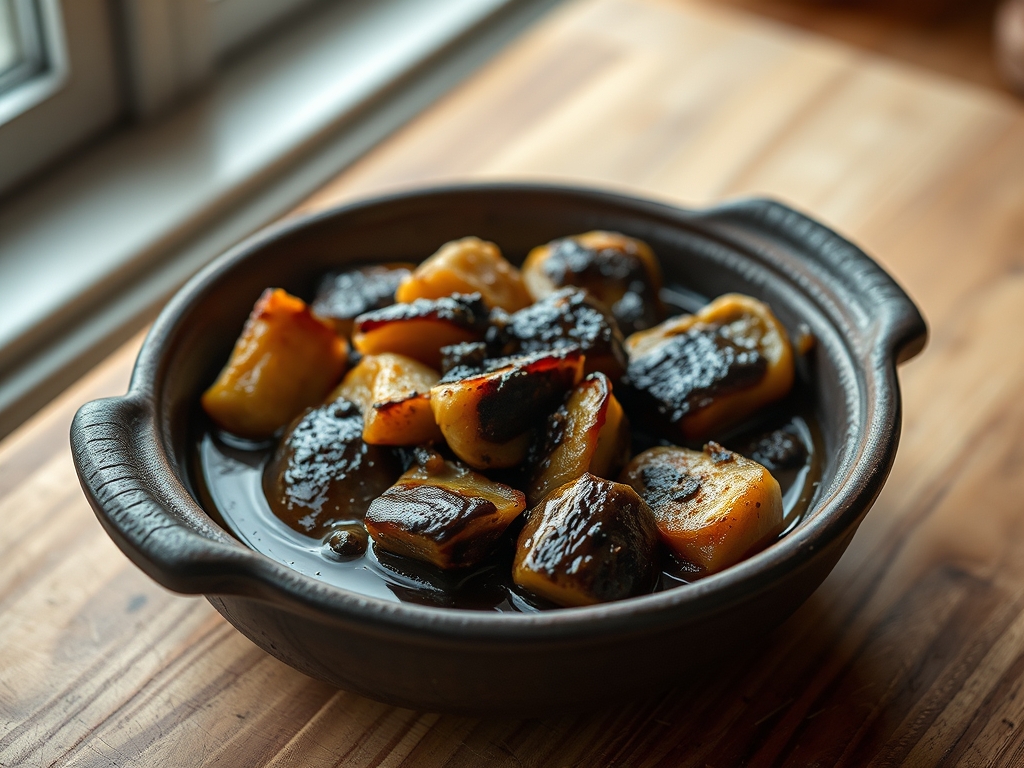
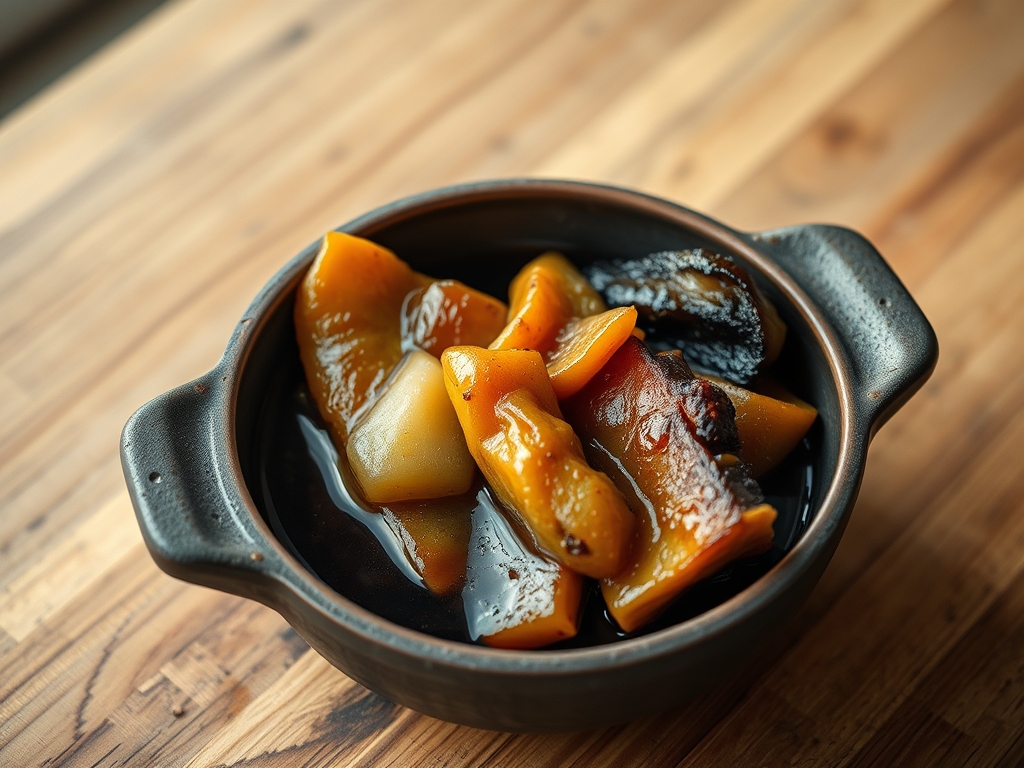
THE VISUAL SPECTRUM
Section C: Thermal & Visual Troubleshooting:
Referencing the Masterclass photo, your Charred Bell Peppers should exhibit a vibrant, glossy sheen with deep saturation of color. If your peppers look dull or matte, you have likely rinsed them or under-dressed them. If the edges of the strips look "fuzzy," your knife was dull. Uneven browning usually indicates that the peppers were too crowded on the heat source, preventing proper airflow. The visual goal is a contrast between the bright red or yellow flesh and the occasional fleck of remaining black carbon, which signals authentic flame contact to the diner.
THE DEEP DIVE
Macro Nutrition Profile:
Per serving, these peppers provide approximately 120 calories, 10g of healthy monounsaturated fats, 8g of carbohydrates, and 2g of fiber. They are an exceptional source of Vitamin C and Vitamin A, both of which remain relatively stable during the quick, high heat roasting process.
Dietary Swaps:
- Vegan: This recipe is naturally vegan.
- Keto: Ensure the peppers are not over-consumed, as they contain natural sugars; however, the high fat content from the olive oil fits the profile.
- GF: Naturally gluten free. Ensure your sherry vinegar is high quality and not a "flavored" blend containing thickeners.
Meal Prep & Reheating Science:
Charred peppers actually improve after 24 hours in the refrigerator as the garlic and vinegar infuse deeper into the tissues. To reheat, do not use a microwave, which will destroy the texture. Instead, bring them to room temperature or gently warm them in a skillet over low heat to maintain the molecular structure of the fats.
THE KITCHEN TABLE
Why is my pepper skin still sticking?
You likely didn't char them enough or didn't let them steam long enough in the covered bowl. The skin must be fully carbonized to separate cleanly. Ensure the "Vapor Chamber" step lasts at least 15 minutes.
Can I use a different oil?
While Extra Virgin Olive Oil is standard for its flavor, you can use avocado oil for a more neutral profile. Avoid seed oils, as they lack the viscous quality needed to properly glaze the roasted peppers.
Should I remove the seeds before roasting?
No. Roasting them whole traps the steam inside the cavity, which is essential for cooking the flesh from the inside out. Removing seeds beforehand results in a collapsed, dry pepper.
How long do these stay fresh?
Stored in an airtight container with their dressing, they will maintain peak quality for 5 to 7 days. The acidity of the vinegar acts as a mild preservative for the vegetable structure.