Listen up, because we are about to solve the greatest paradox in the vegetable kingdom. We are discussing the structural integrity of the sprout. For too long, these cruciferous globes have been subjected to the indignity of the steamer basket, emerging as sulfurous, gray mush that offends the palate and the soul. We are here to perform a hard reset. The goal is a high-velocity thermal transformation. We want Charred Brussels Sprouts that possess a glass-like, lacquered exterior while maintaining a succulent, vibrant core. This is not just cooking; it is a controlled burn. We are looking for the Maillard reaction pushed to its absolute limit without crossing the threshold into acrid carbonization. When you bite into a perfectly executed sprout, you should experience an audible crunch followed by a buttery, nutty interior that has been pressurized by its own internal steam. If your kitchen does not smell like toasted hazelnuts and caramelized sugars by the end of this audit, you have failed the mission. Grab your apron. We are going in.
THE DATA MATRIX
| Metric | Specification |
|---|---|
| Prep Time | 15 Minutes |
| Execution Time | 20 Minutes |
| Yield | 4 Servings |
| Complexity (1-10) | 4 |
| Estimated Cost per Serving | $1.75 |
THE GATHERS
Ingredient Protocol:
- 900g / 2 lbs Fresh Brussels Sprouts (uniform size for thermal consistency)
- 60ml / 4 tbsp Extra Virgin Olive Oil (high smoke point preferred)
- 5g / 1 tsp Flaky Sea Salt (Maldon or similar for textural contrast)
- 2g / 0.5 tsp Freshly cracked Black Peppercorns
- 30ml / 2 tbsp Aged Balsamic Vinegar (viscous and piquant)
- 15ml / 1 tbsp Pure Maple Syrup (to facilitate rapid browning)
- 50g / 0.5 cup Toasted Walnuts (for lipid-based crunch)
- 30g / 2 tbsp Cold Unsalted Butter (to render and coat)
Section A: Ingredient Quality Audit:
The primary failure point in this protocol is the raw material. If your sprouts are soft or exhibit yellowing outer leaves, the cellular structure has already begun to collapse. This results in a "steamed" texture even in high-heat environments. Technical Fix: If sprouts are slightly dehydrated, submerge them in an ice-water bath for 10 minutes to restore turgor pressure before trimming. Furthermore, if your balsamic vinegar is thin and watery, it will not cling to the charred leaves. You must reduce it in a small saucier over medium heat until it coats the back of a spoon before application.
THE MASTERCLASS
1. The Surgical Preparation
Begin by using a sharpened chef knife or a professional bench scraper to remove the woody stem base of each sprout. Halve them longitudinally. This creates a flat surface area, which is the primary theater for heat transfer. Remove any loose or tattered outer leaves.
Pro Tip: Use a digital scale to ensure your batches are uniform in weight. Consistent mass ensures that the thermal energy is distributed equally across the sheet pan, preventing a mix of burnt and raw units.
2. The Lipid Saturation
In a large stainless steel mixing bowl, toss the halved sprouts with the olive oil, salt, and pepper. You must ensure every crevice is coated. The oil acts as a heat conductor, allowing the air in the oven to transfer energy more efficiently into the vegetable's surface.
Pro Tip: Do not crowd the pan. If the sprouts are too close, they will release moisture and create a localized steam cloud, preventing the Maillard reaction. Use two sheet pans if necessary to maintain adequate airflow.
3. The Thermal Blast
Preheat your oven to 220C / 425F. Place the sprouts cut-side down on a heavy-duty rimmed baking sheet. This maximizes direct contact with the hot metal. Roast for 15 to 20 minutes without stirring. We are looking for a deep, dark brown crust on the flat side.
Pro Tip: Professional chefs often use a heavy cast-iron skillet preheated in the oven. This provides a massive thermal reservoir that sears the sprouts the moment they touch the surface, ensuring the exterior crisps before the interior overcooks.
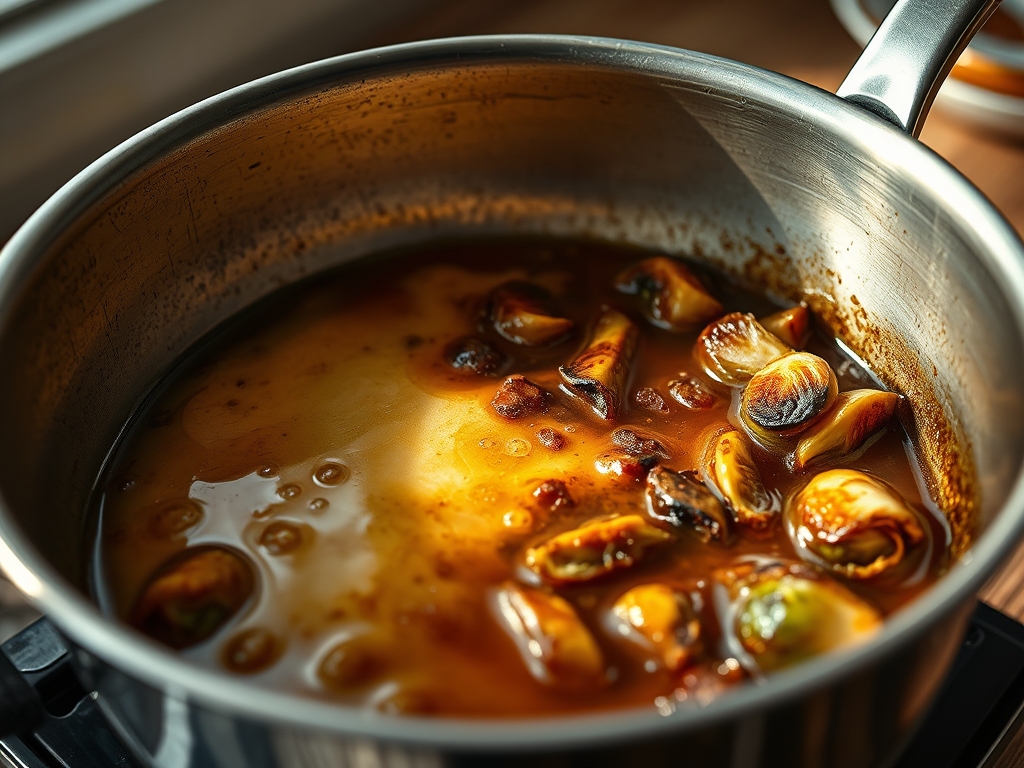
4. The Glaze and Emulsification
Once the sprouts are charred, remove them from the oven. While still screaming hot, transfer them to a bowl and add the balsamic reduction, maple syrup, and the cold butter. Toss vigorously to emulsify the fats with the sugars, creating a glossy, viscous coating.
Pro Tip: Use a silicone spatula to ensure you scrape all the "fond" (the browned bits) off the bottom of the pan. These bits are concentrated flavor bombs that should be integrated back into the final glaze.
5. The Final Texture Integration
Fold in the toasted walnuts and a final pinch of flaky salt. The salt should not dissolve; it should remain as discrete crystals to provide a sharp, piquant contrast to the rich, earthy sweetness of the charred leaves.
Pro Tip: To infuse more depth, add a sprig of rosemary to the pan during the last five minutes of roasting. The heat will release the volatile oils, perfuming the sprouts without overpowering them.
Section B: Prep & Timing Fault-Lines:
The most common human error is the "Peek-a-Boo" syndrome. Opening the oven door repeatedly drops the ambient temperature by as much as 50 degrees, stalling the caramelization process. Trust your timer. If the sprouts are not browning, your oven calibration might be off. Use an independent oven thermometer to verify. Another fault-line is the "Wet Sprout" error. If you wash your sprouts and do not dry them completely with a lint-free towel, the residual water will turn to steam, ruining the crispness.
THE VISUAL SPECTRUM
Section C: Thermal & Visual Troubleshooting:
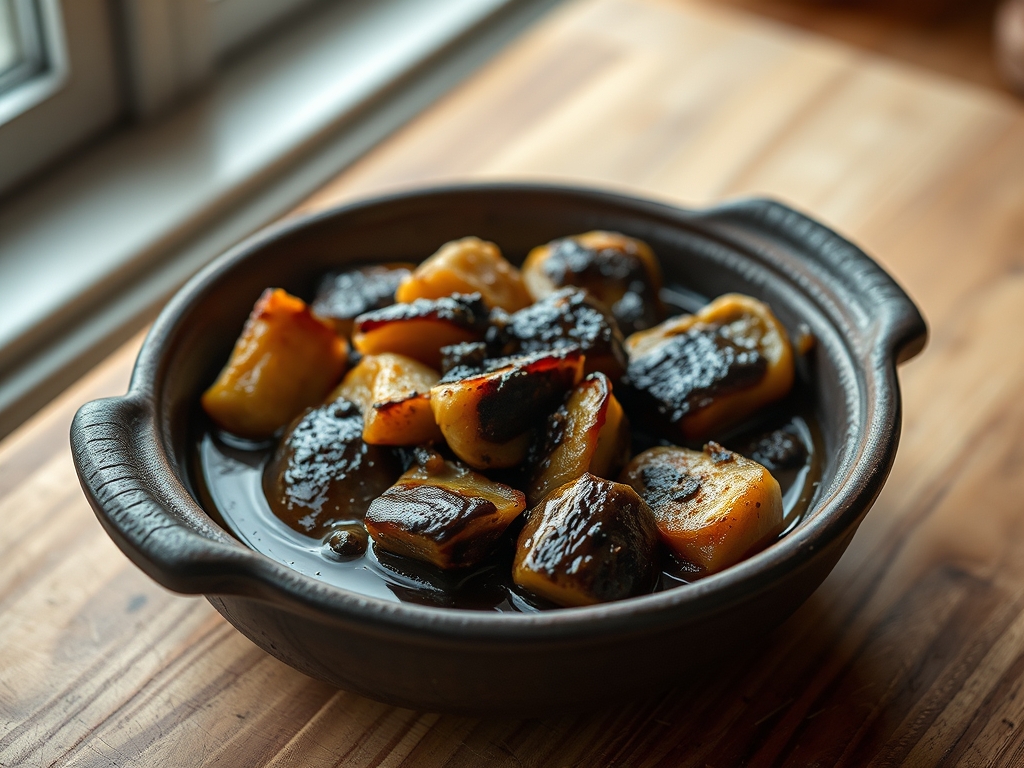
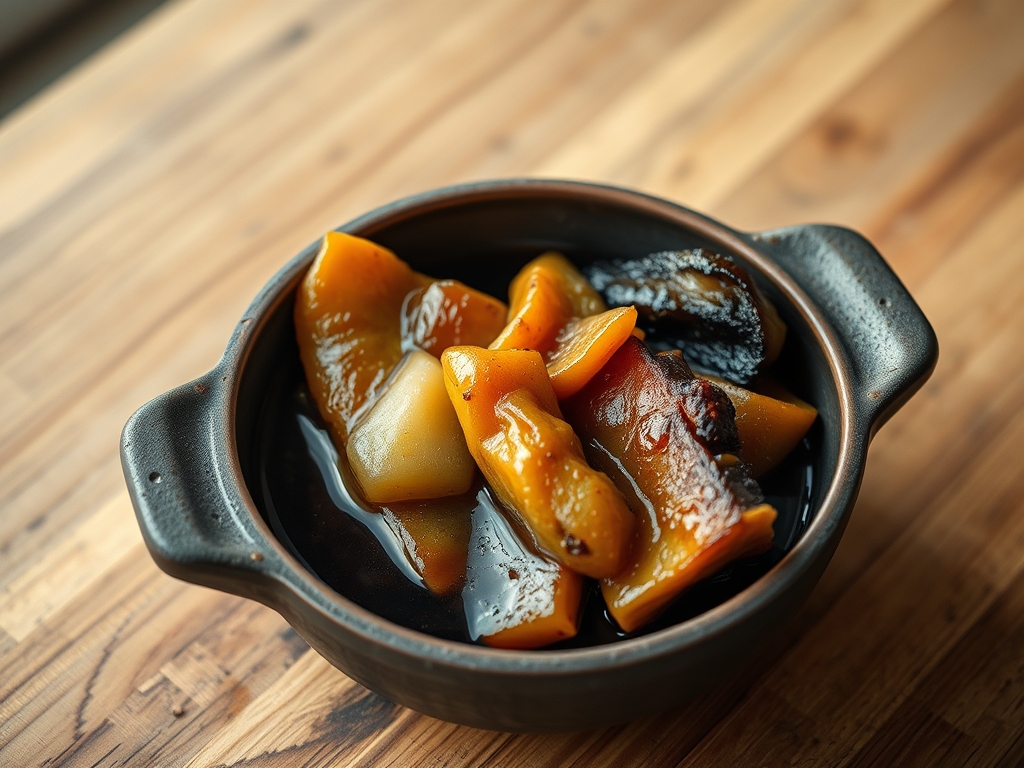
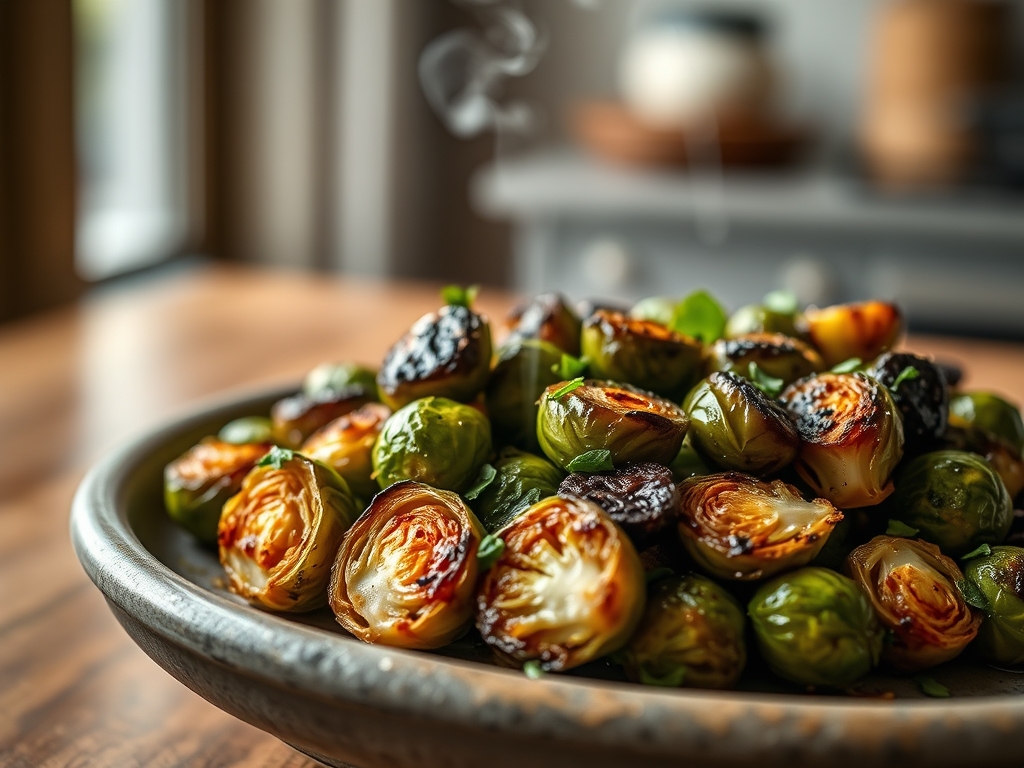
Look at the Masterclass photo. Notice the high-contrast zones: the deep umber of the charred outer leaves versus the bright, emerald green of the protected inner layers. If your sprouts are a uniform dull khaki color, you have overcooked them, likely at too low a temperature for too long. If they are black on the outside but crunchy/raw in the middle, your oven was too hot or the sprouts were too large. Solution: For oversized sprouts, par-cook them in the microwave for 60 seconds before roasting to soften the core.
THE DEEP DIVE
Macro Nutrition Profile:
Per serving, these Charred Brussels Sprouts offer approximately 180 calories, 12g of healthy fats (primarily monounsaturated from olive oil and walnuts), 15g of carbohydrates (6g fiber), and 5g of protein. They are a powerhouse of Vitamin K and Vitamin C.
Dietary Swaps:
- Vegan: Replace the butter with a high-quality vegan buttery spread or simply increase the olive oil.
- Keto: Omit the maple syrup and balsamic reduction. Use a splash of apple cider vinegar and a pinch of erythritol for the same acidic/sweet balance.
- GF: This recipe is naturally gluten-free. Ensure your balsamic vinegar does not contain caramel color additives derived from wheat.
Meal Prep & Reheating Science:
To maintain molecular structure, do not microwave leftovers. The microwave excites water molecules, turning your crispy exterior into a soggy mess. Instead, deglaze a skillet with a teaspoon of water, add the sprouts, and cover for 60 seconds to reheat the core. Remove the lid and fry for 2 minutes to restore the crunch.
THE KITCHEN TABLE
Why are my sprouts bitter?
Bitterness usually stems from undercooking or using old sprouts. High-heat roasting converts starches into sugars, neutralizing the bitter compounds. Always choose small, tight heads for the sweetest flavor profile.
Can I use frozen sprouts?
Negative. Frozen sprouts have compromised cellular walls due to ice crystal formation. When thawed, they release too much moisture, making a true char impossible. Stick to fresh for this specific protocol.
How do I get the leaves to fall off and crisp up?
Intentionally peel away the outermost 3 to 4 leaves of each sprout before roasting. Toss them in the same oil and salt. They will cook faster, turning into "sprout chips" that add incredible texture.
What is the best way to store them?
Store in an airtight glass container for up to 3 days. Avoid plastic, as it traps residual steam and accelerates wilting. Always reheat using dry-heat methods like a toaster oven or air fryer.