Stop looking at your pantry as a collection of ingredients and start viewing it as a geological survey of the ocean floor. We are dealing with hijiki; the dark, thread like sea vegetable that looks like a tangled mess of midnight silk but packs the mineral density of a tectonic plate. This is not your average leafy green. It is a structural marvel that requires a rigorous Hijiki Seaweed Prep protocol to transform it from a brittle, desiccated fossil into a succulent, umami-laden powerhouse. When you rehydrate this botanical wire, you are not just soaking it; you are initiating a cellular re-expansion that demands precision. The scent should be a clean, briny gust of Pacific air, not a stagnant marsh. We are looking for a texture that offers a distinct snap against the teeth, releasing a deep, saline sweetness that anchors any dish it touches. If you have been treating sea vegetables as an afterthought, your culinary infrastructure is failing. It is time to audit your technique and master the rehydration cycle.
THE DATA MATRIX
| Metric | Specification |
|---|---|
| Prep Time | 30 Minutes (Rehydration) |
| Execution Time | 15 Minutes |
| Yield | 4 Servings |
| Complexity (1-10) | 3 |
| Estimated Cost per Serving | $1.25 USD |
THE GATHERS
Ingredient Protocol:
- 30g / 1 oz Dried Hijiki Seaweed
- 15ml / 1 tbsp Neutral Oil (Grapeseed or Rice Bran)
- 100g / 3.5 oz Carrots (Julienned)
- 2 blocks / 150g Fried Tofu (Abura-age), sliced into thin strips
- 45ml / 3 tbsp Soy Sauce (Tamari for Gluten-Free)
- 30ml / 2 tbsp Mirin
- 15g / 1 tbsp Granulated Sugar or Honey
- 250ml / 1 cup Dashi Stock (Kombu-based for Vegan)
Section A: Ingredient Quality Audit:
If your dried hijiki arrives smelling excessively fishy or looking dusty, it has likely been oxidized by poor storage. To fix this, perform a double-rinse before the long soak. If your fried tofu (abura-age) feels excessively greasy or has a stale oil scent, blanch it in boiling water for sixty seconds to render out the old fats before slicing. For sub-par carrots that lack snap, shock them in ice water for ten minutes to restore turgor pressure before you begin your knife work. Quality starts with the structural integrity of the raw materials.
THE MASTERCLASS
Step 1: The Rehydration Phase
Place your dried hijiki in a large glass bowl and submerge it in 1 liter / 4 cups of filtered water. Let it sit for exactly 28 to 30 minutes. The seaweed will expand significantly, often quadrupling in volume. Use a digital scale to ensure your dry-to-wet ratios remain consistent across batches.
Pro Tip: The science here involves osmotic pressure. Do not over-soak beyond 40 minutes or the cellular walls will degrade, turning your structured sea vegetable into a viscous mush.
Step 2: The Purification Rinse
Drain the hijiki into a fine-mesh sieve. Rinse it thoroughly under cold running water, tossing it gently with your hands to remove any residual sand or grit. This is the most critical part of the Hijiki Seaweed Prep to ensure a clean mouthfeel.
Pro Tip: Use a saucier or a heavy-bottomed pan for the next steps. The curved sides of a saucier allow for better evaporation control and even heat distribution when you begin to infuse the flavors.
Step 3: The Aromatics and Base
Heat your neutral oil in the pan over medium heat. Add the julienned carrots and abura-age. Sauté for three minutes until the carrots soften slightly and the tofu begins to render its remaining moisture.
Pro Tip: Use a stainless steel bench scraper to transfer your julienned vegetables from the cutting board to the pan. This prevents bruising the produce and maintains the precision of your cuts.
Step 4: The Umami Reduction
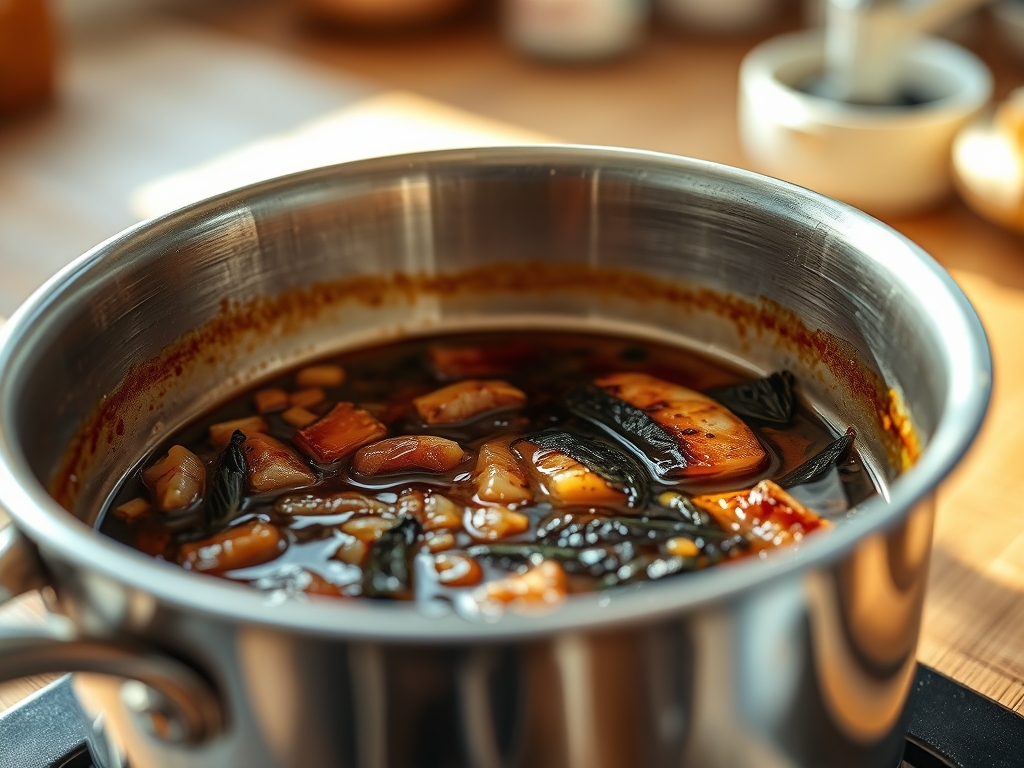
Add the hydrated hijiki to the pan and stir-fry for two minutes to coat it in the oil. Pour in the dashi, soy sauce, mirin, and sugar. Bring to a simmer, then reduce the heat to low. Cover with an otoshibuta (drop lid) or a parchment paper circle to ensure the liquid circulates evenly.
Pro Tip: This stage allows the seaweed to infuse with the sweet and salty braising liquid. The lid creates a micro-environment that prevents the top layer from drying out while the bottom layer simmers.
Step 5: The Final Glaze
Remove the lid and increase the heat to medium-high. Stir constantly as the liquid reduces. You want the sauce to coat the hijiki in a glossy, piquant glaze rather than leaving it swimming in a pool of broth.
Pro Tip: Watch for the "glimmer." When the sugars in the mirin and soy sauce begin to caramelize slightly, they will create a reflective coating on the seaweed. This is the sign of a perfect reduction.
Section B: Prep & Timing Fault-Lines:
The most common human error is the "thermal spike." If you boil the hijiki too aggressively, the delicate threads will snap. Maintain a gentle simmer. If you find the liquid is disappearing too fast before the seaweed is tender, add 30ml / 2 tbsp of water and lower your BTU output. Timing is everything; if you stop too early, the flavors will be superficial. If you stop too late, the sugar will burn and create a bitter profile.
THE VISUAL SPECTRUM
Section C: Thermal & Visual Troubleshooting:
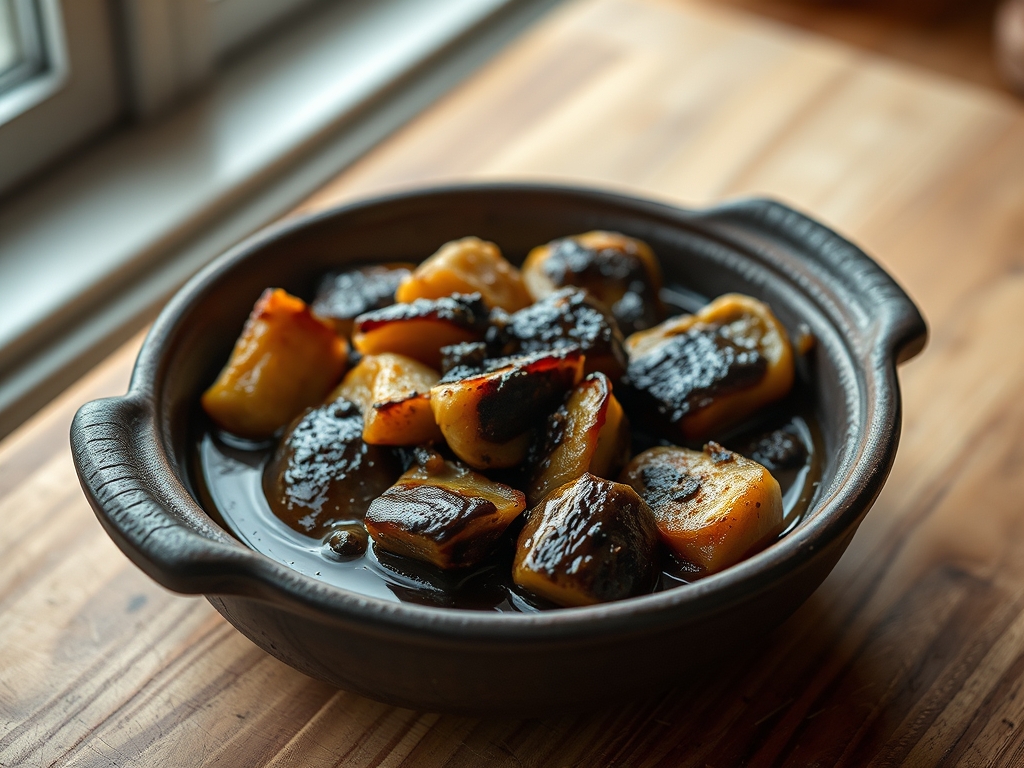
Referencing the Masterclass photo, your final product should exhibit a deep, obsidian sheen. If the hijiki looks dull or grey, you likely skipped the oil-coating step or under-seasoned with soy sauce. If the carrots appear mushy rather than distinct orange needles, they were cut too thin or overcooked. The abura-age should act as a golden contrast to the dark seaweed. If the dish looks "soupy," increase the heat to deglaze the pan and reduce the liquid further until the bottom of the pan is nearly dry when you scrape it.
THE DEEP DIVE
Macro Nutrition Profile:
Hijiki is a mineral goldmine. It is exceptionally high in dietary fiber, calcium, and iron. A single serving provides a significant portion of your daily magnesium requirements, essential for metabolic function. However, it is also naturally high in inorganic arsenic; this is why the soaking and rinsing steps are non-negotiable for safety.
Dietary Swaps:
- Vegan: Ensure your dashi is made from kombu and shiitake mushrooms rather than bonito flakes.
- Keto: Replace the sugar with a monk fruit erythritol blend and use a splash of liquid aminos instead of soy sauce.
- Gluten-Free: Use certified Tamari to avoid wheat-based stabilizers found in standard soy sauce.
Meal Prep & Reheating Science:
Hijiki is a rare dish that actually improves after 24 hours in the refrigerator. The cold environment allows the flavors to penetrate deep into the fibrous core of the seaweed. When reheating, avoid the microwave as it can cause the seaweed to "pop" and lose texture. Instead, place it in a small pan with a teaspoon of water, cover, and steam gently over low heat to aerate the fibers and restore the glaze.
THE KITCHEN TABLE
Why is my hijiki still crunchy after soaking?
Check your water temperature. If the environment is very cold, the fibers won't relax. Use room-temperature filtered water. Also, ensure the seaweed isn't expired; old hijiki becomes excessively woody and resistant to rehydration regardless of soak time.
Can I use the soaking water for broth?
Absolutely not. Unlike kombu or shiitake soaking liquid, hijiki soaking water contains concentrated impurities and inorganic arsenic that were purged during the rehydration cycle. Always discard the soaking water and rinse the seaweed thoroughly before cooking.
How long does cooked hijiki last?
When stored in an airtight glass container, it will maintain its structural integrity for up to five days. The high salt and sugar content of the braising liquid acts as a mild preservative, keeping the flavors vibrant and the texture snappy.
What if I can't find abura-age?
You can substitute with firm tofu that has been pan-seared until golden, or even thin strips of shiitake mushrooms. The goal is to provide a porous element that absorbs the braising liquid and offers a textural contrast to the seaweed.