Forget the cloying, one-dimensional sweetness of standard clover honey. We are here to dismantle the saccharine status quo and rebuild it into something formidable. When you apply aggressive thermal energy to raw nectar, you are not just heating it; you are initiating a violent molecular reorganization. This is the art of the Burnt Honey Glaze. It is a transition from simple sugars to complex, bitter, and smoky compounds that demand respect. Imagine a liquid that carries the floral ghost of a summer meadow but hits the palate with the dark, brooding intensity of a double espresso. It is viscous, piquant, and unapologetically bold. As the temperature climbs toward 320 degrees Fahrenheit, the sucrose undergoes a phase shift, shedding its innocence to become a sophisticated glaze that clings to proteins and charred vegetables like a second, more delicious skin. We are auditing your kitchen infrastructure today to ensure your execution is flawless. No more timid simmering. We are going for the scorch.
THE DATA MATRIX
| Metric | Specification |
|---|---|
| Prep Time | 5 Minutes |
| Execution Time | 15 Minutes |
| Yield | 350ml / 1.5 Cups |
| Complexity (1-10) | 7 |
| Estimated Cost per Serving | $0.85 |
THE GATHERS
Ingredient Protocol:
- 340g / 1 cup High-Quality Wildflower Honey
- 60ml / 0.25 cup Filtered Water (for deglazing)
- 45ml / 3 tbsp Apple Cider Vinegar
- 5g / 1 tsp Flaky Sea Salt
- 2g / 0.5 tsp Smoked Paprika (optional for depth)
- 30g / 2 tbsp Unsalted Grass-Fed Butter
Section A: Ingredient Quality Audit:
If your honey has already crystallized into a gritty, opaque mass, do not panic. This is merely a physical state change, not a chemical failure. Gently warm the jar in a water bath to re-liquefy the glucose crystals before starting. If your vinegar lacks that sharp, piquant punch, check the acidity percentage. You need a minimum of 5% acidity to balance the heavy sugars. Using "honey-flavored syrup" is a catastrophic infrastructure failure; the lack of actual pollen and complex enzymes means it will simply turn into acrid carbon rather than a nuanced glaze. Always source raw, minimally filtered honey for the best aromatic profile.
THE MASTERCLASS
1. The Initial Thermal Load
Place your honey in a heavy-bottomed saucier. Using a digital scale ensures precision that volume measurements simply cannot match. Set the heat to medium-high. You are looking for the honey to begin foaming. This is the water content evaporating, concentrating the sugars for the upcoming caramelization.
Pro Tip: A saucier is superior to a straight-sided saucepan because the rounded bottom prevents sugar from "snagging" in the corners and burning prematurely. The science here is even heat distribution across a curved surface area.
2. Monitoring the Phase Shift
As the honey foams, use a heat-resistant silicone spatula to stir constantly. The color will migrate from pale gold to a deep, autumnal amber. You are waiting for the first wisps of blue smoke. This indicates that the Maillard reaction has shifted into full pyrolysis. The scent will change from floral to toasted marshmallow.
Pro Tip: Use an infrared thermometer to track the temperature. You are aiming for 315 to 325 degrees Fahrenheit. Exceeding 330 degrees will result in a permanent bitter finish that even fat cannot fix.
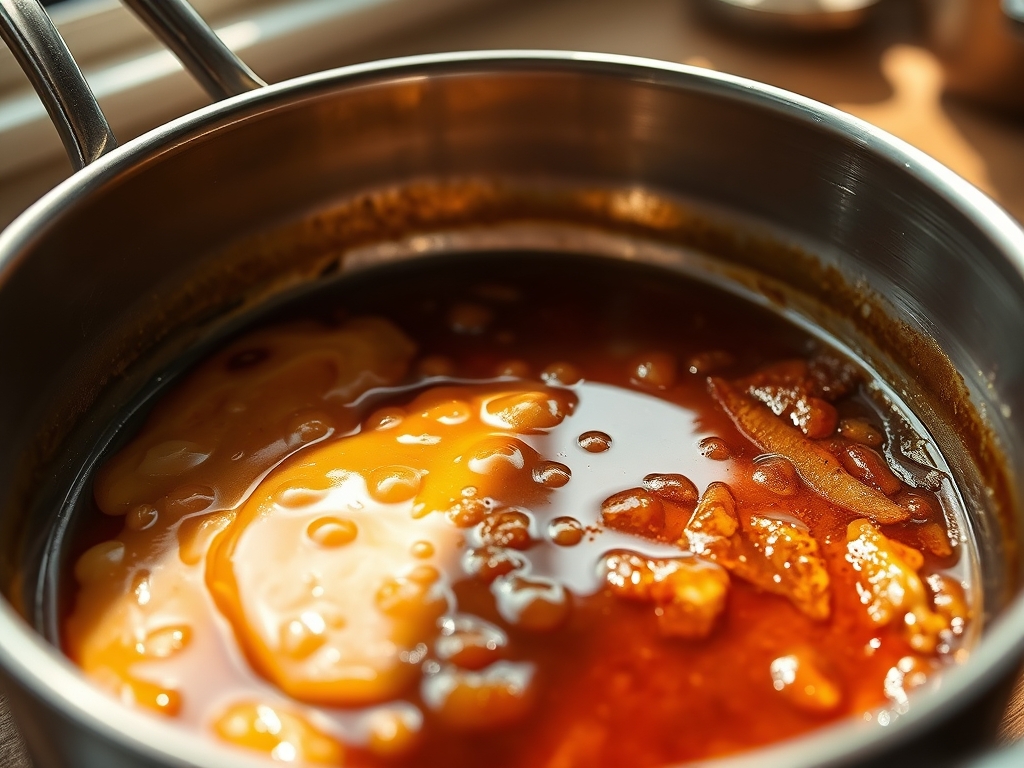
3. The Deglazing Maneuver
Once the honey reaches a dark mahogany hue, remove the pan from the heat immediately. Carefully pour in the filtered water and apple cider vinegar. Stand back; the reaction will be violent as the liquid flashes into steam. Stir vigorously to deglaze the hardened sugars from the bottom of the pan.
Pro Tip: Deglazing arrests the cooking process instantly. By introducing a cooler liquid, you drop the temperature below the burning point, locking in the specific flavor profile you have just engineered.
4. Emulsification and Finish
Return the pan to low heat. Add the salt and smoked paprika. Whisk in the cold butter one cube at a time to aerate the mixture and create a silky, stable emulsion. The butter provides a fat barrier that mellows the sharp acidity and bitterness.
Pro Tip: Cold butter is essential. Adding warm butter would cause the fats to separate. Cold fat allows for a slow melt that integrates with the sugar molecules to create a glossy, professional sheen.
Section B: Prep & Timing Fault-Lines:
The most common failure in this protocol is "The Hesitation." If you wait too long to deglaze, the honey will transition from "burnt" to "incinerated" in a matter of seconds. Ensure your liquids are measured and sitting next to the stove before you even turn on the gas. If the glaze becomes too thick upon cooling, do not add more water. Instead, whisk in a teaspoon of lemon juice or more vinegar to maintain the flavor balance while adjusting the viscosity.
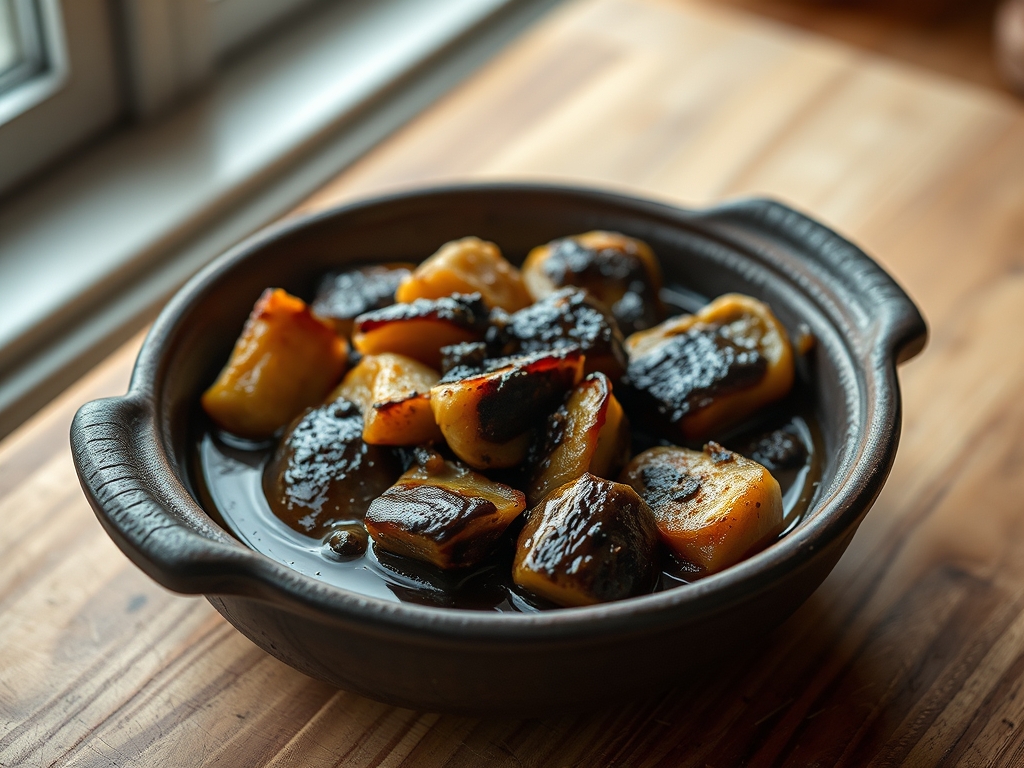
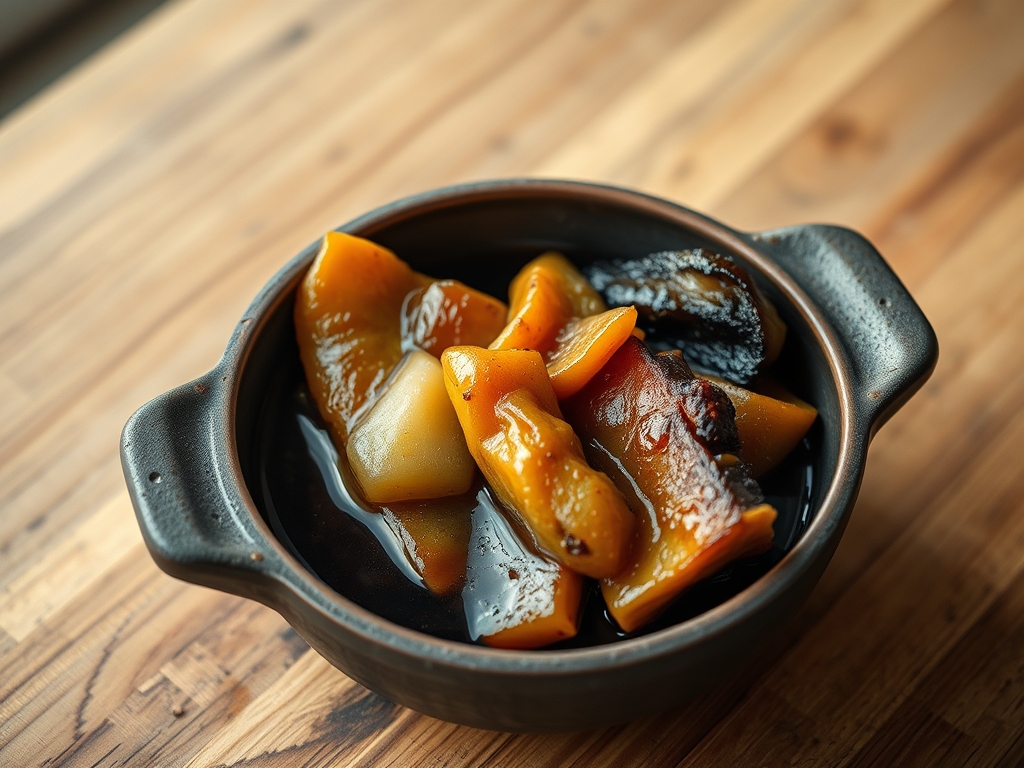
THE VISUAL SPECTRUM
Section C: Thermal & Visual Troubleshooting:
Look at the Masterclass photo above. Notice the deep, translucent crimson-brown color. If your glaze looks pale yellow, you pulled it too early; it will taste like simple honey. If it looks black and opaque, you overshot the thermal window. A successful Burnt Honey Glaze should have a mirror-like finish. If your glaze appears dull or matte, your emulsion has broken. To fix this, add a splash of hot water and whisk aggressively to render the fats back into the sugar solution. Uneven browning usually stems from a thin-bottomed pan that creates "hot spots." If you see dark streaks forming, move the pan off the heat and stir to redistribute the energy.
THE DEEP DIVE
Macro Nutrition Profile:
This glaze is a high-density carbohydrate source. Per 30ml serving, expect approximately 120 calories, 0g protein, 4g fat (from butter), and 24g sugar. It is a flavor bomb designed for impact, not a primary nutrient source.
Dietary Swaps:
- Vegan: Swap the honey for maple syrup (Grade A Dark) and use a high-quality vegan butter or coconut oil. The caramelization point for maple is slightly lower, so reduce your target temperature to 310 degrees Fahrenheit.
- Keto: This is chemically impossible with honey. Use an allulose-based syrup, though the "burnt" flavor profile will be significantly different due to the lack of natural enzymes.
- GF: Naturally gluten-free. Ensure your vinegar is not malt-based.
Meal Prep & Reheating Science:
The Burnt Honey Glaze stores exceptionally well in a glass jar for up to three weeks. Because of the high sugar concentration, it acts as its own preservative. When reheating, do not use a microwave; it creates localized hot spots that can re-burn the sugars. Use a double boiler or a very low flame to gently loosen the molecular bonds until it returns to a pourable state.
THE KITCHEN TABLE
Why did my glaze turn into a hard candy?
You likely over-boiled the mixture after deglazing. This removed too much water, moving the sugar into the "hard crack" stage. Whisk in a tablespoon of warm water to restore the desired viscosity.
Can I use this as a marinade?
It is better as a finishing glaze. The high sugar content means it will char and turn bitter if exposed to high grill heat for too long. Brush it on during the last three minutes of cooking.
My glaze is separated; what happened?
The emulsion failed. This occurs if the butter is added while the honey is too hot or if it is stirred too slowly. Re-heat gently and whisk in a tiny splash of water to bring it back together.
What is the best way to clean the pan?
Sugar is water-soluble. Do not scrub. Fill the saucier with water and bring it to a boil. The hardened honey will dissolve effortlessly, saving your infrastructure from abrasive damage.